Channel
Segment your content hub using channels. A channel groups one or more projects intended for a specific group of users (team, region, event…) and helps you distribute the right content to the right people.
What is a channel?
A channel is a sub-space of a content hub. While the hub portal displays the “default” list of projects available to all, a channel brings together specific projects for a targeted audience.
- Market example: EMEA, North America, APAC
- Audience example: Sales Force, Partners, Internal Training
- Context example: Trade Show, Beta Testing, Onboarding
Access to a channel is via an access link. Without this link, the channel remains invisible in the hub interface for users.
A content hub groups several projects and can include channels. A single app opens directly to one project. Learn more: Content Hub
Prerequisites
- A content hub (included in MULTI or FULL plans)
- At least one “default” project for the hub portal
- Projects ready to be added to your channel
Create a channel
- Open your dashboard > Apps: https://pandasuite.com/dashboard/publish
- Select your application (content hub).
- Click on Create a Channel.

- Provide:
- Channel name
- Icon 1024×1024 px
- Add one or more projects to the channel. There is no limit.
- Save.
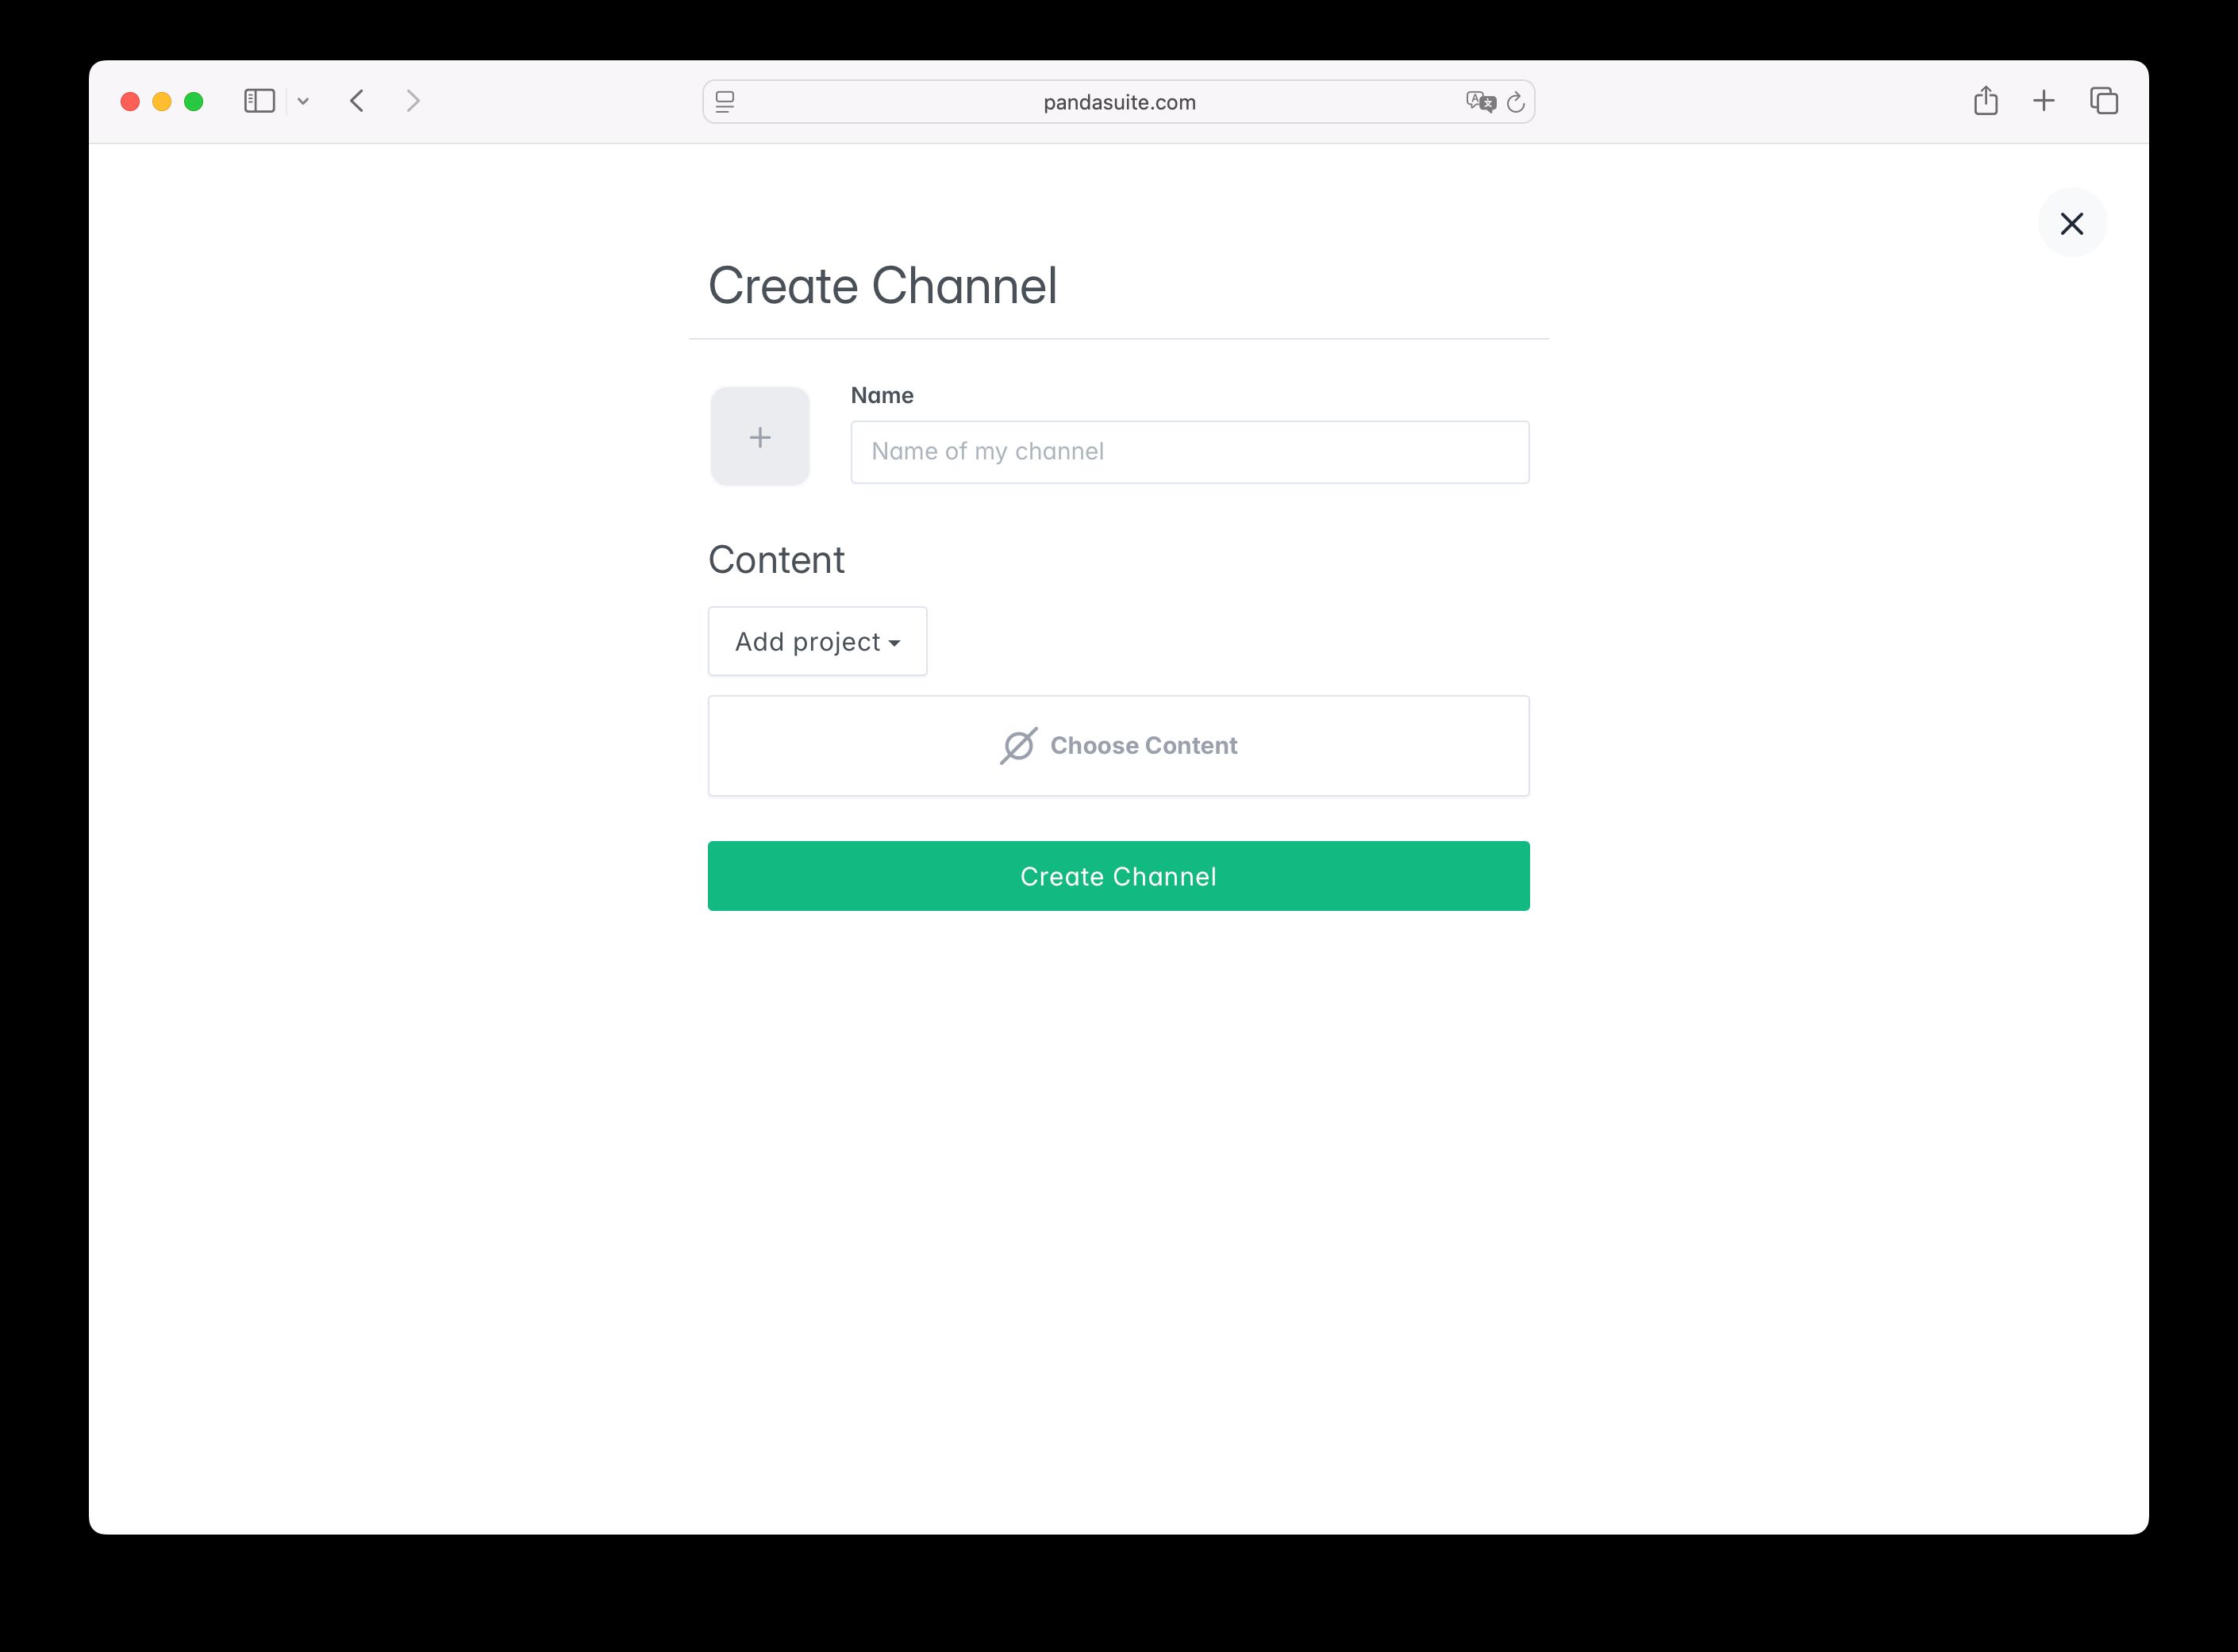
The icon is used as a loading icon for this channel on the Web and native versions (iOS, Android, Windows).
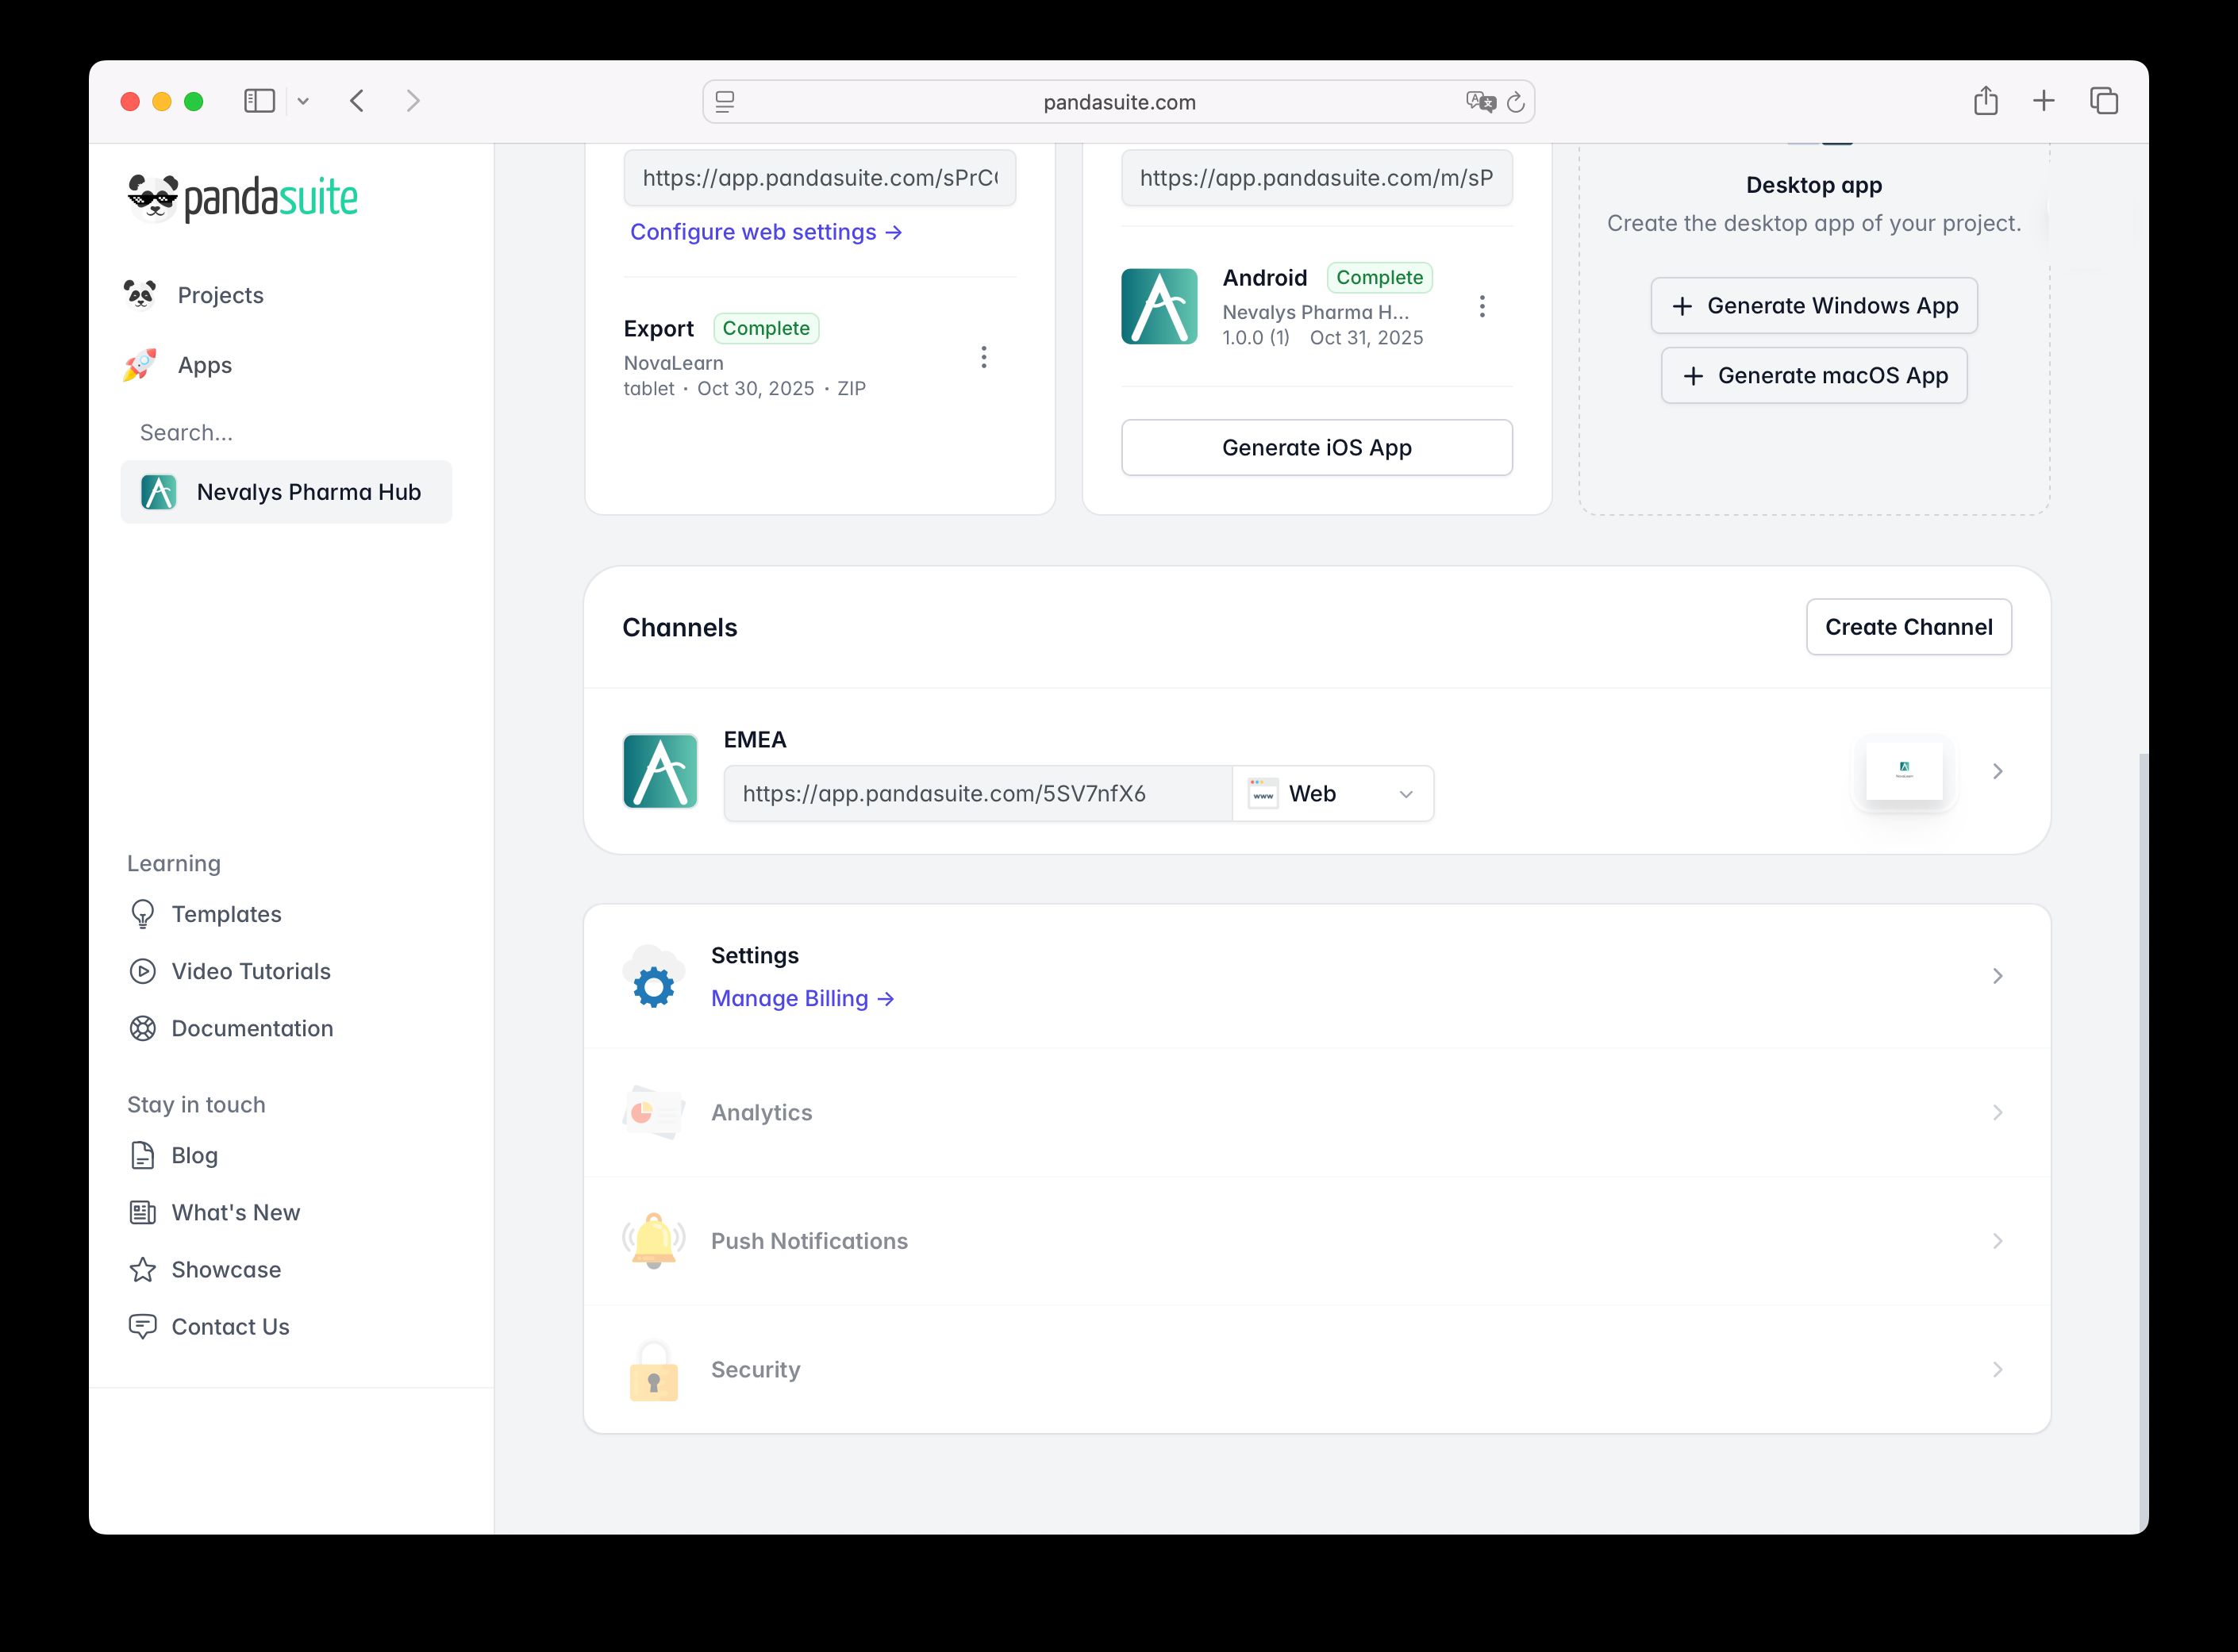
Share access to a channel
Access is via a unique link specific to each channel. This link is automatically generated when the channel is created.
-
Go to your application dashboard to retrieve this link.
-
Use the dropdown menu to select the format of your choice based on your generated binaries.
Note:
- Web / PWA: the user directly opens the channel via the link.
- iOS / Android: the user first installs the hub (from the App Store/Play Store), then clicks on the link again to open the channel within the hub.
- Windows / macOS: the user first installs the hub application, then clicks on the link again.
The access link “unlocks” the channel in the user’s hub. For sensitive content, combine this distribution mechanism with project-level controls (e.g., authentication).
Navigate between portal and channels
The experience varies depending on the platform.
- Web / PWA: the portal and channels are independent: accessed via their own link.
- iOS / Android: within the hub, open the sidebar menu to switch between the portal and unlocked channels.
- Windows / macOS: Use the system menu to return to the portal or change channels. If a channel contains multiple projects, there is a Home icon in each project: it returns to the channel and allows navigation from project to project.
Manage and delete a channel
- Edit its name: change the channel’s name and icon directly from the Channels block.
- Edit its content: select the channel and click on the Add / Remove button to edit its content.
- Delete a channel: click the Delete Channel button. The channel and its access link are removed.
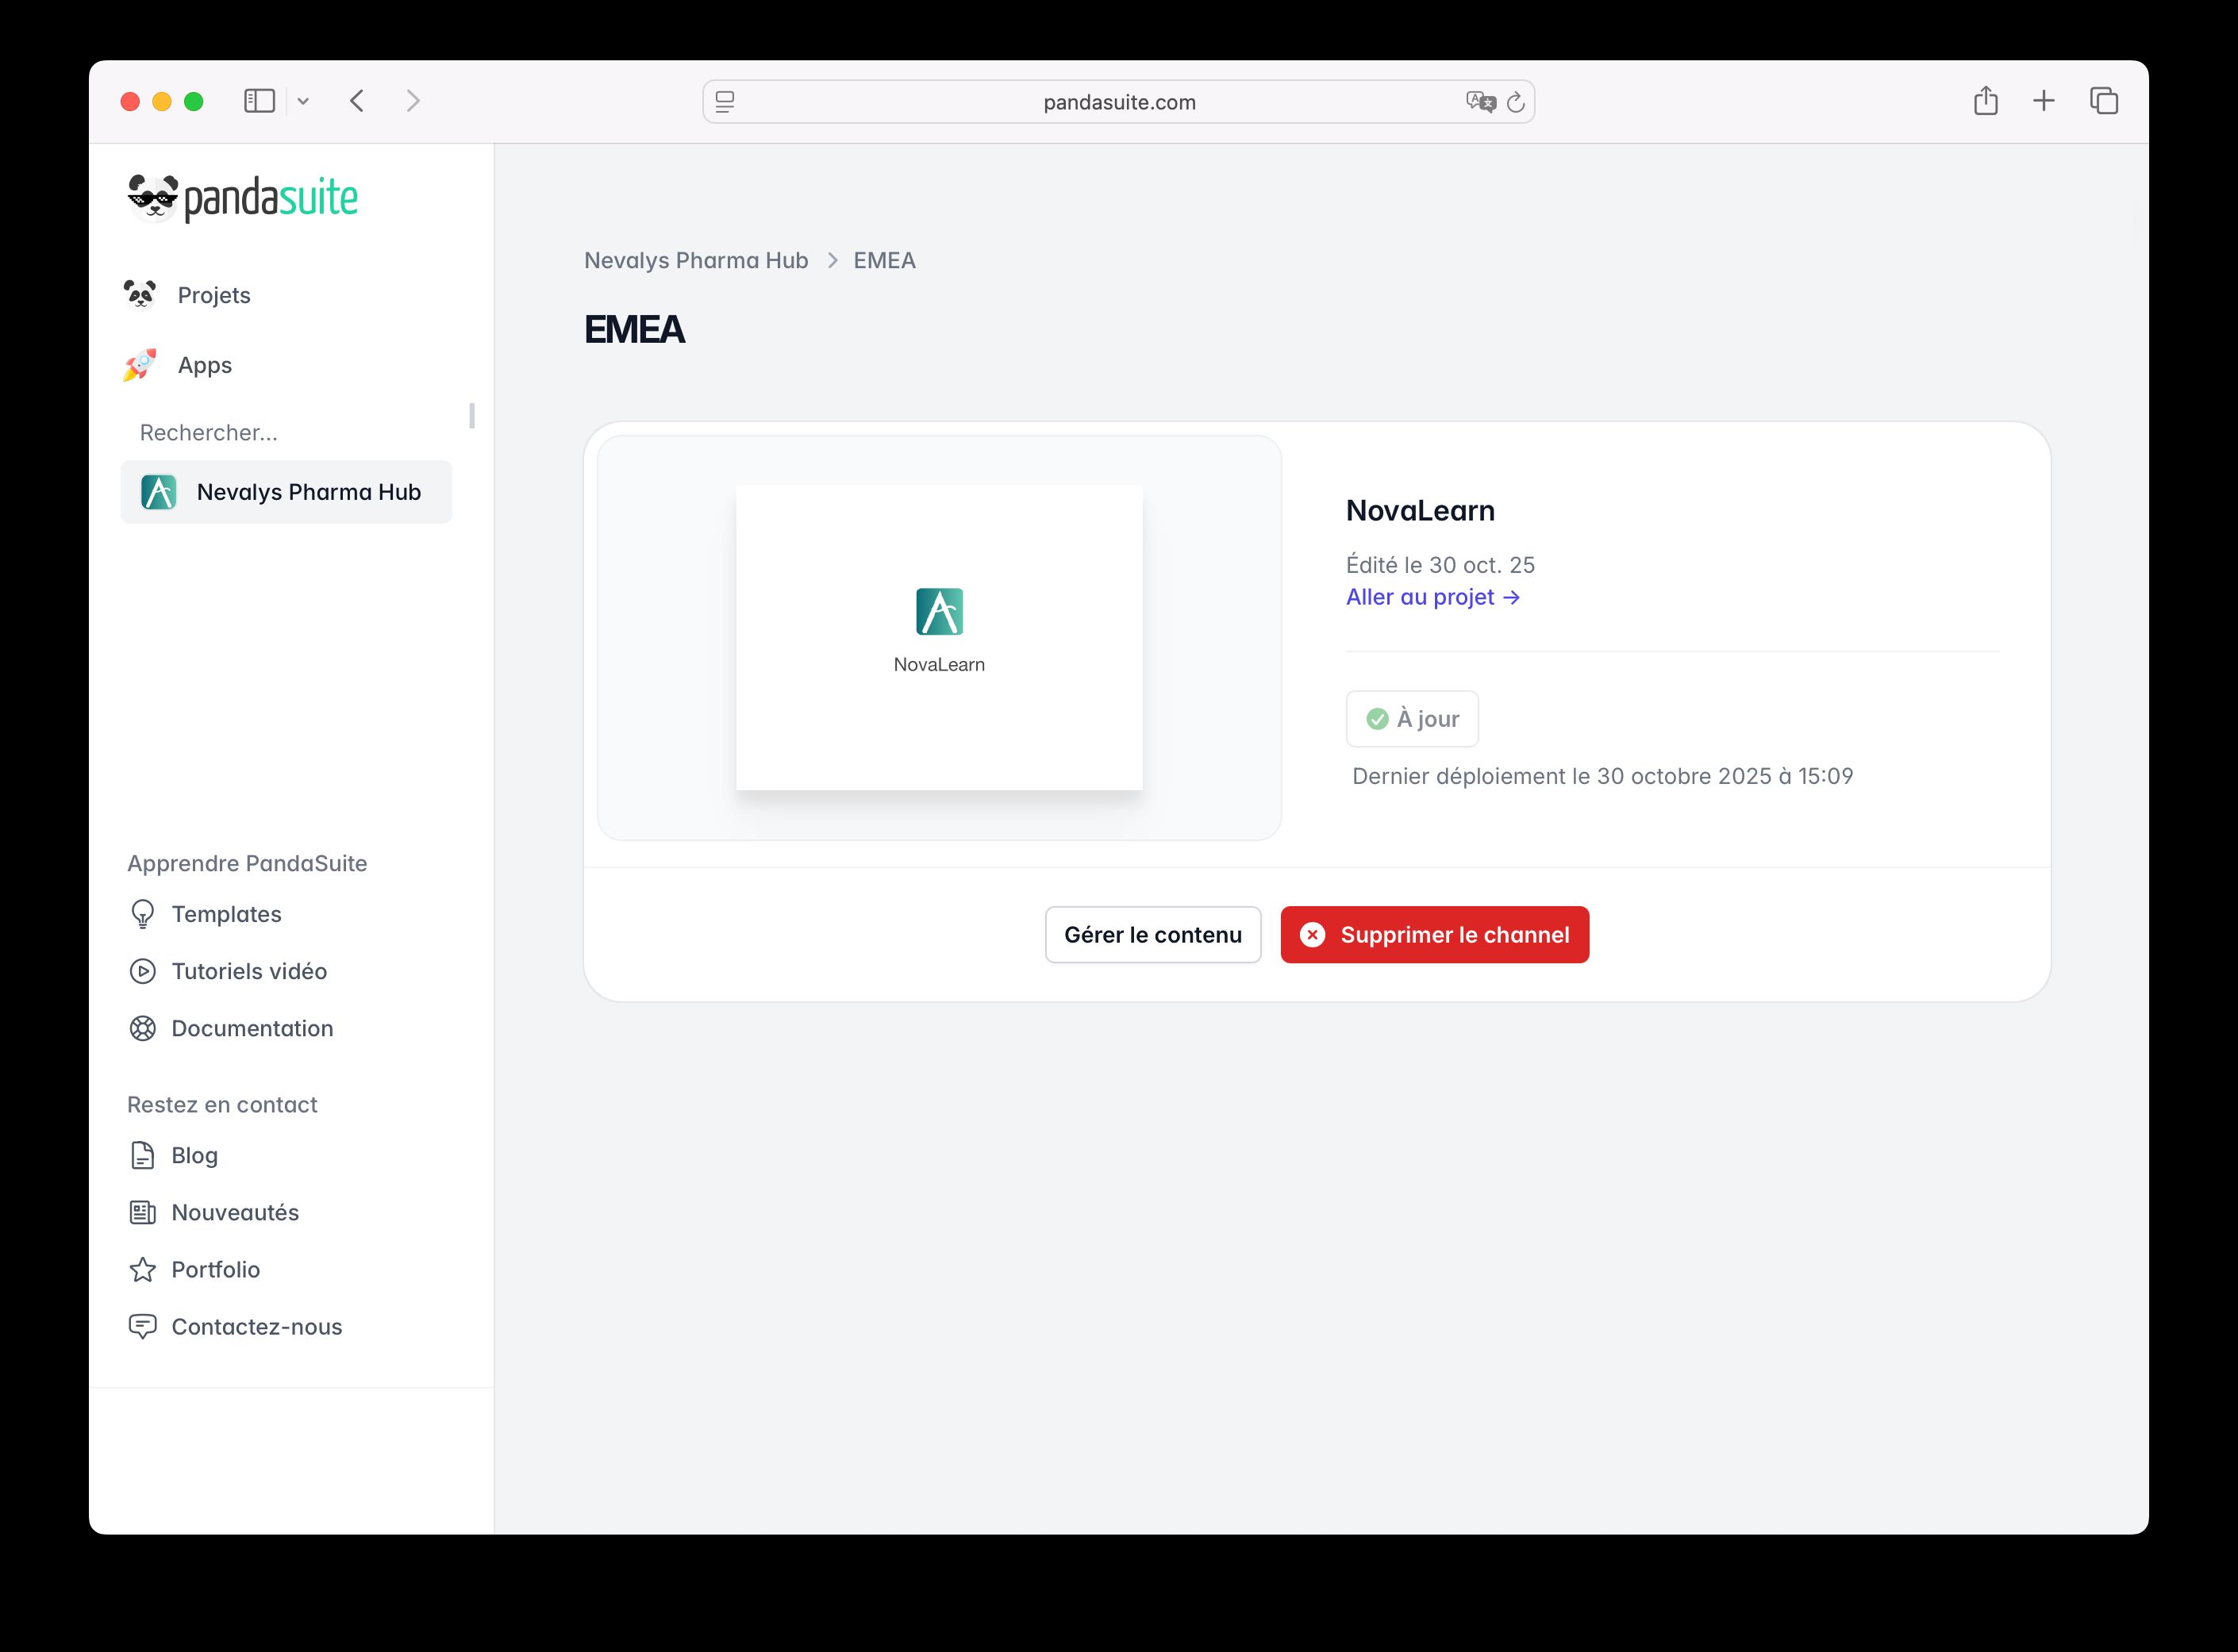
Deleting a channel removes access to this grouping. The projects themselves are not deleted from your account. Just make sure they remain available via the portal or other channels if necessary.
Best practices
- Define your audiences in advance: create 1 channel per team, market, or event to maintain a clear structure.
- Name and illustrate clearly: facilitate user understanding.
- Only one project per channel for an “immersive” experience (without the Home icon).
- Test links on each platform (Web, iOS, Android, Windows) before distribution.
- Secure sensitive content: combine channel link and authentication mechanisms at the project level.