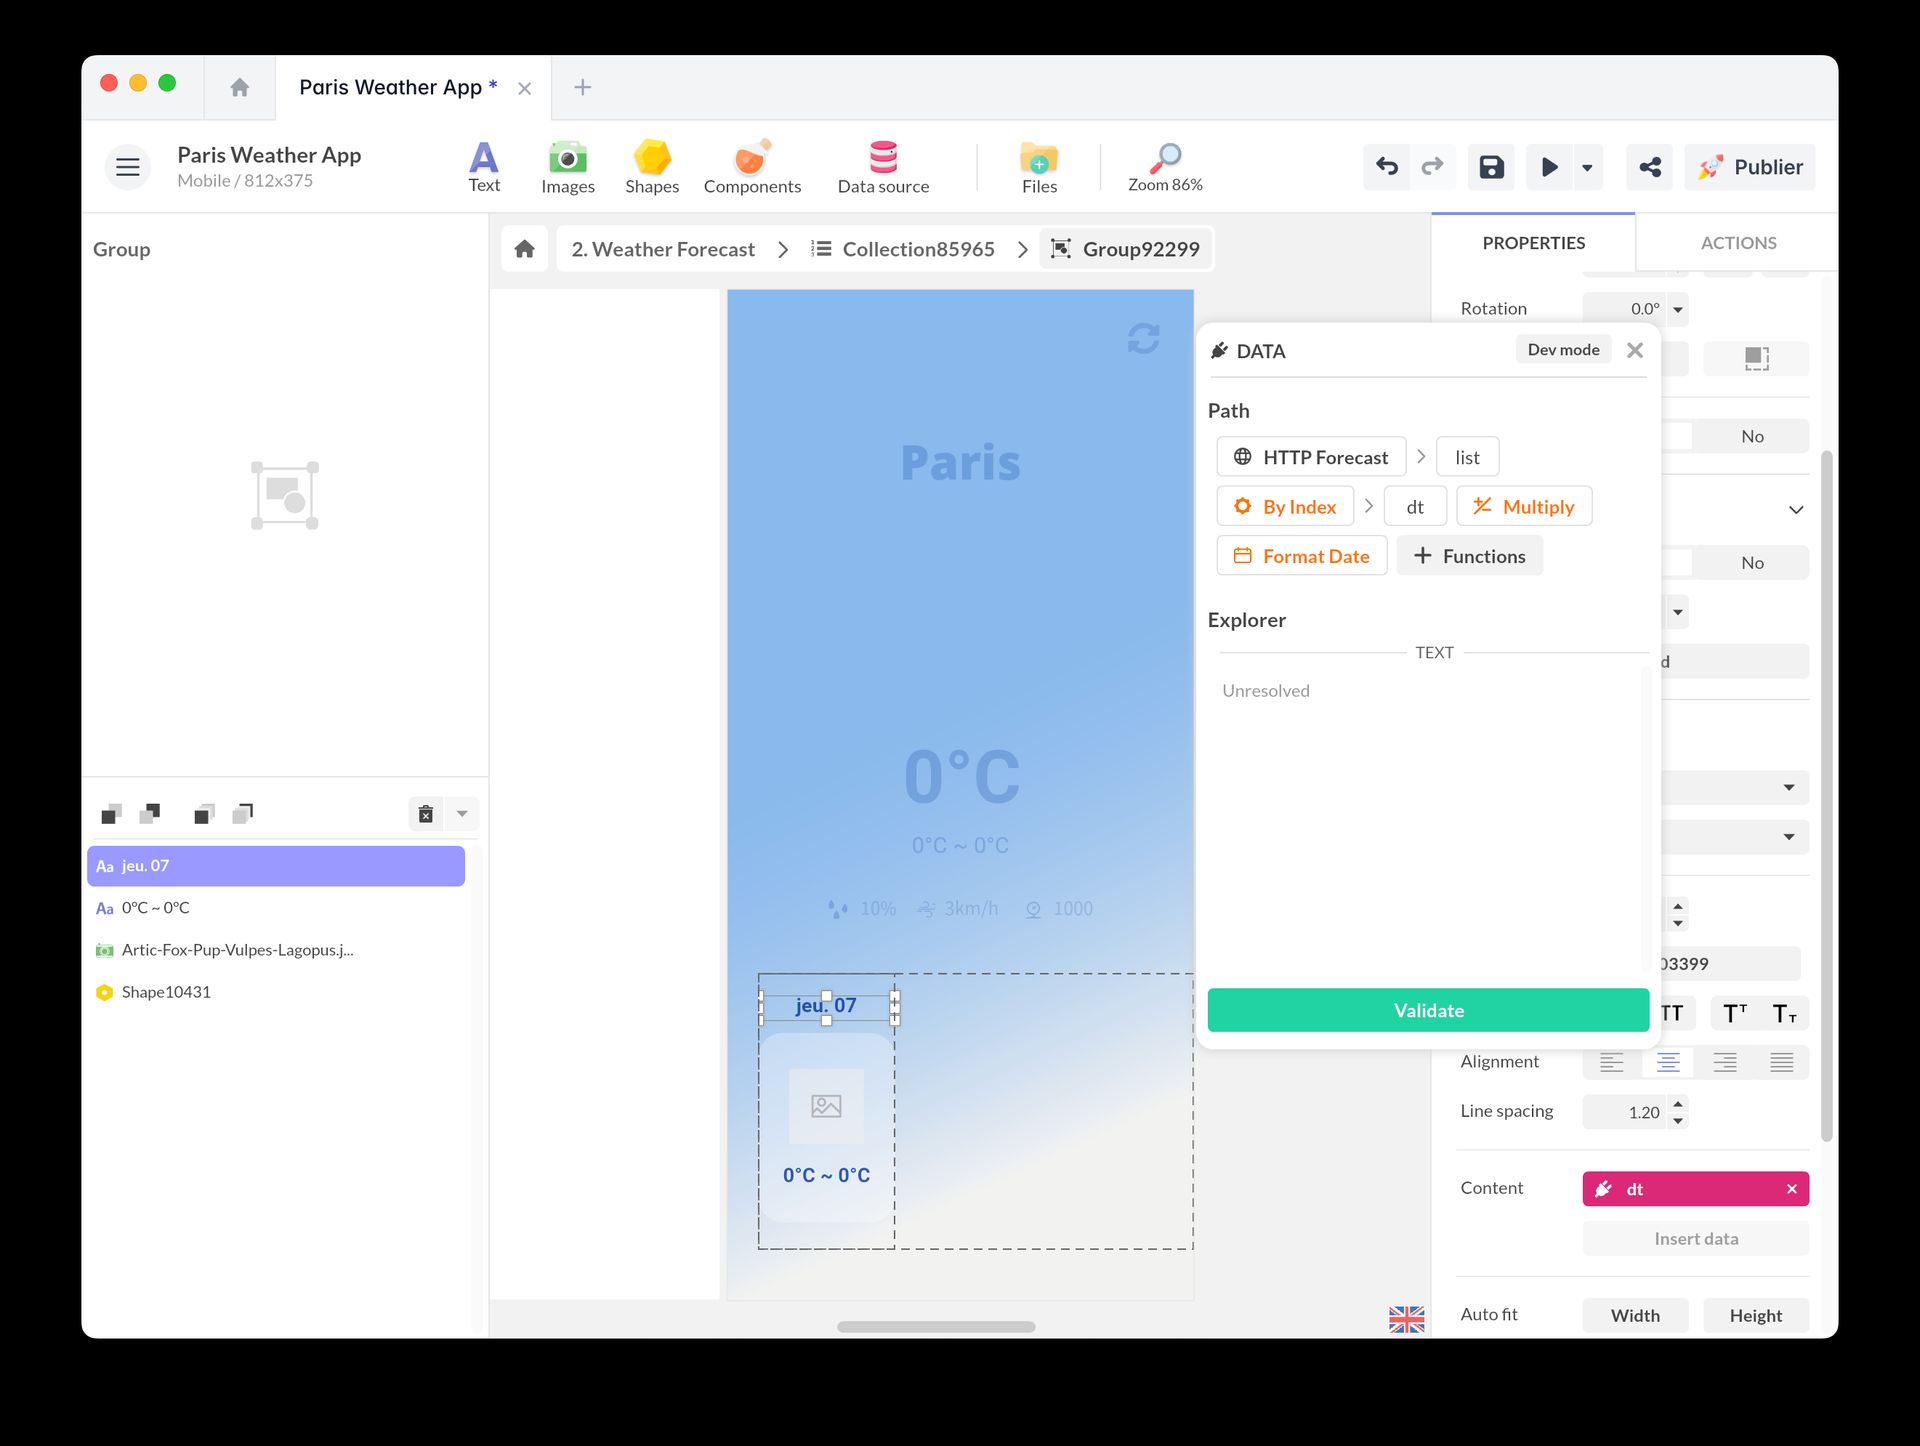
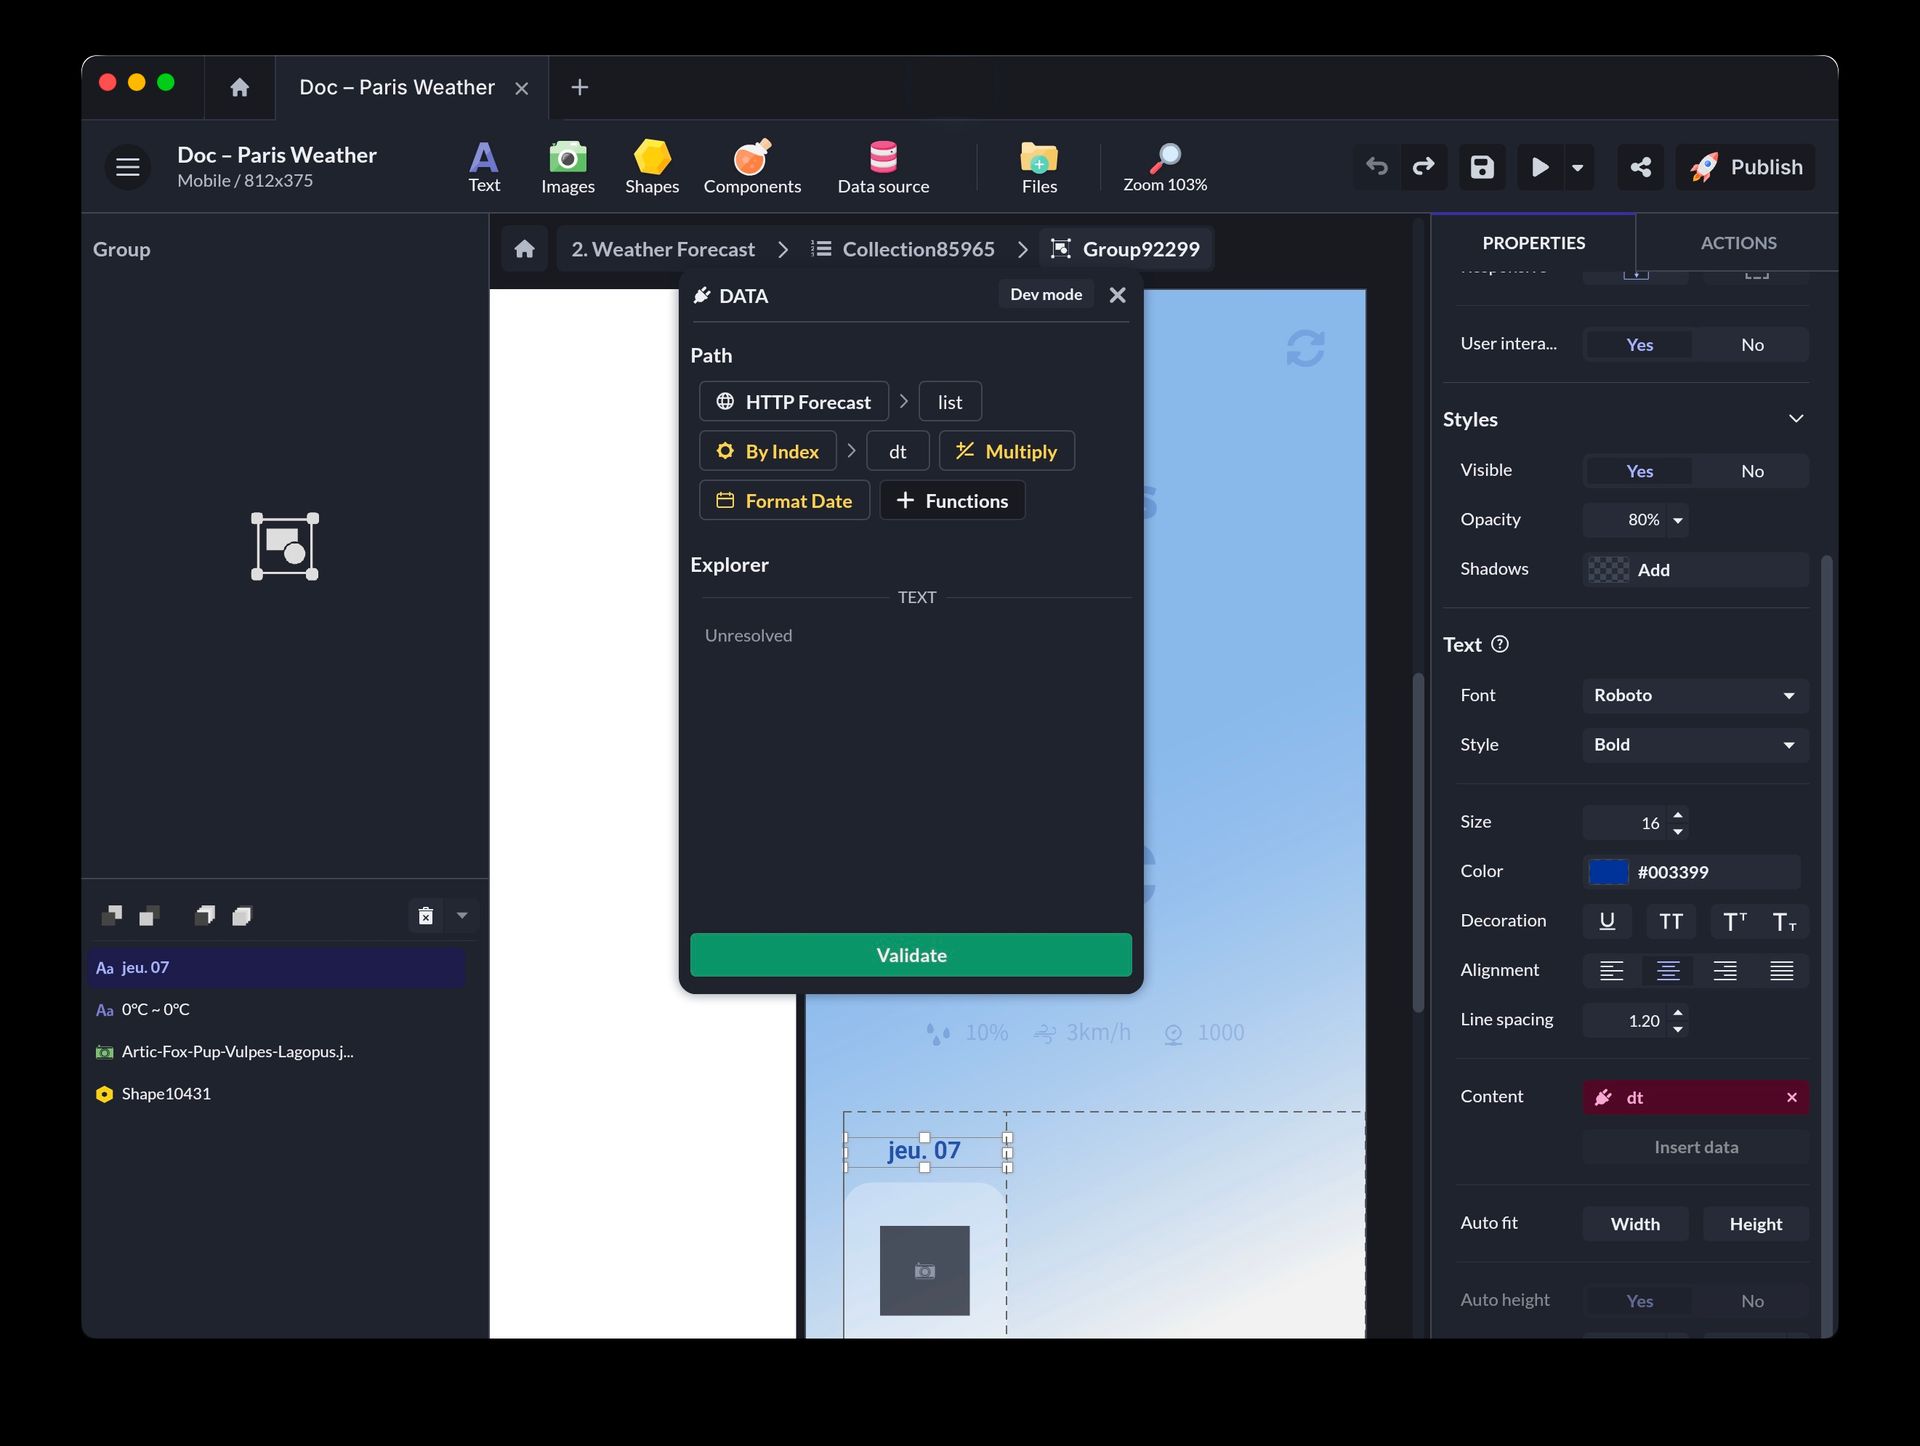
Display Today's Weather
Learn how to display current weather in your PandaSuite application by retrieving data from a weather API (OpenWeather). For example, you can display the current temperature, weather conditions (sunny, cloudy, rainy), and other real-time weather information.

Download the free template related to this tutorial:
Paris Today's Weather
Add this template to your account in just a few clicks. Edit and customize it freely.
→ Add this template to your accountObtain The API Key
Create A Free OpenWeather Account
OpenWeather is a free online service providing weather forecasts for a city. It offers different APIs to obtain weather data for a specific location.
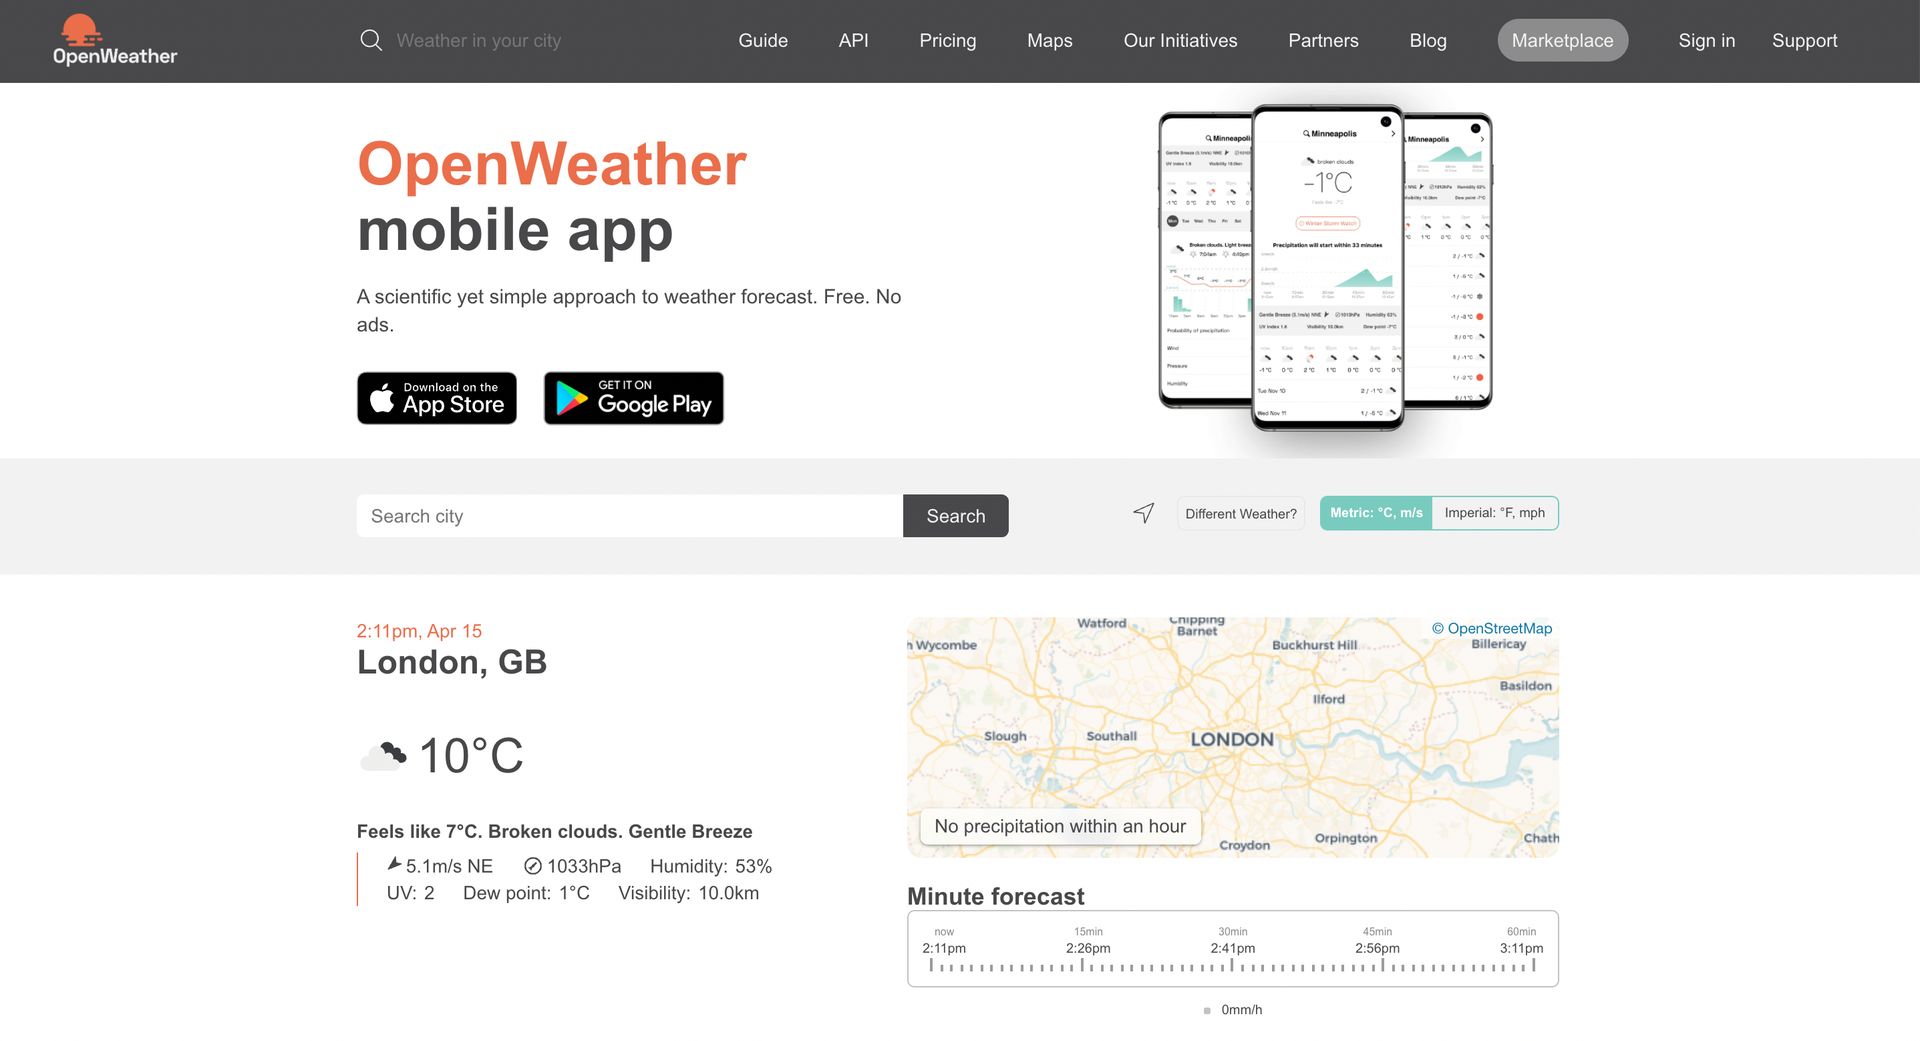
Create a free account on OpenWeather.
The free plan gives access to the Current Weather API, used for today’s weather. The Daily Forecast 16 Days API, used further down for the forecast, is not part of it: see OpenWeather’s pricing.
Retrieve The API URL
OpenWeather offers different APIs to get weather data for a location. We’ll use the Current Weather API to get today’s weather, and the Daily Forecast API to display the forecast for the coming days.
- Log in to your account.
- Go to the API section.
- Choose Current Weather Data and click on the API doc button to access the technical documentation.
- The API URL appears:
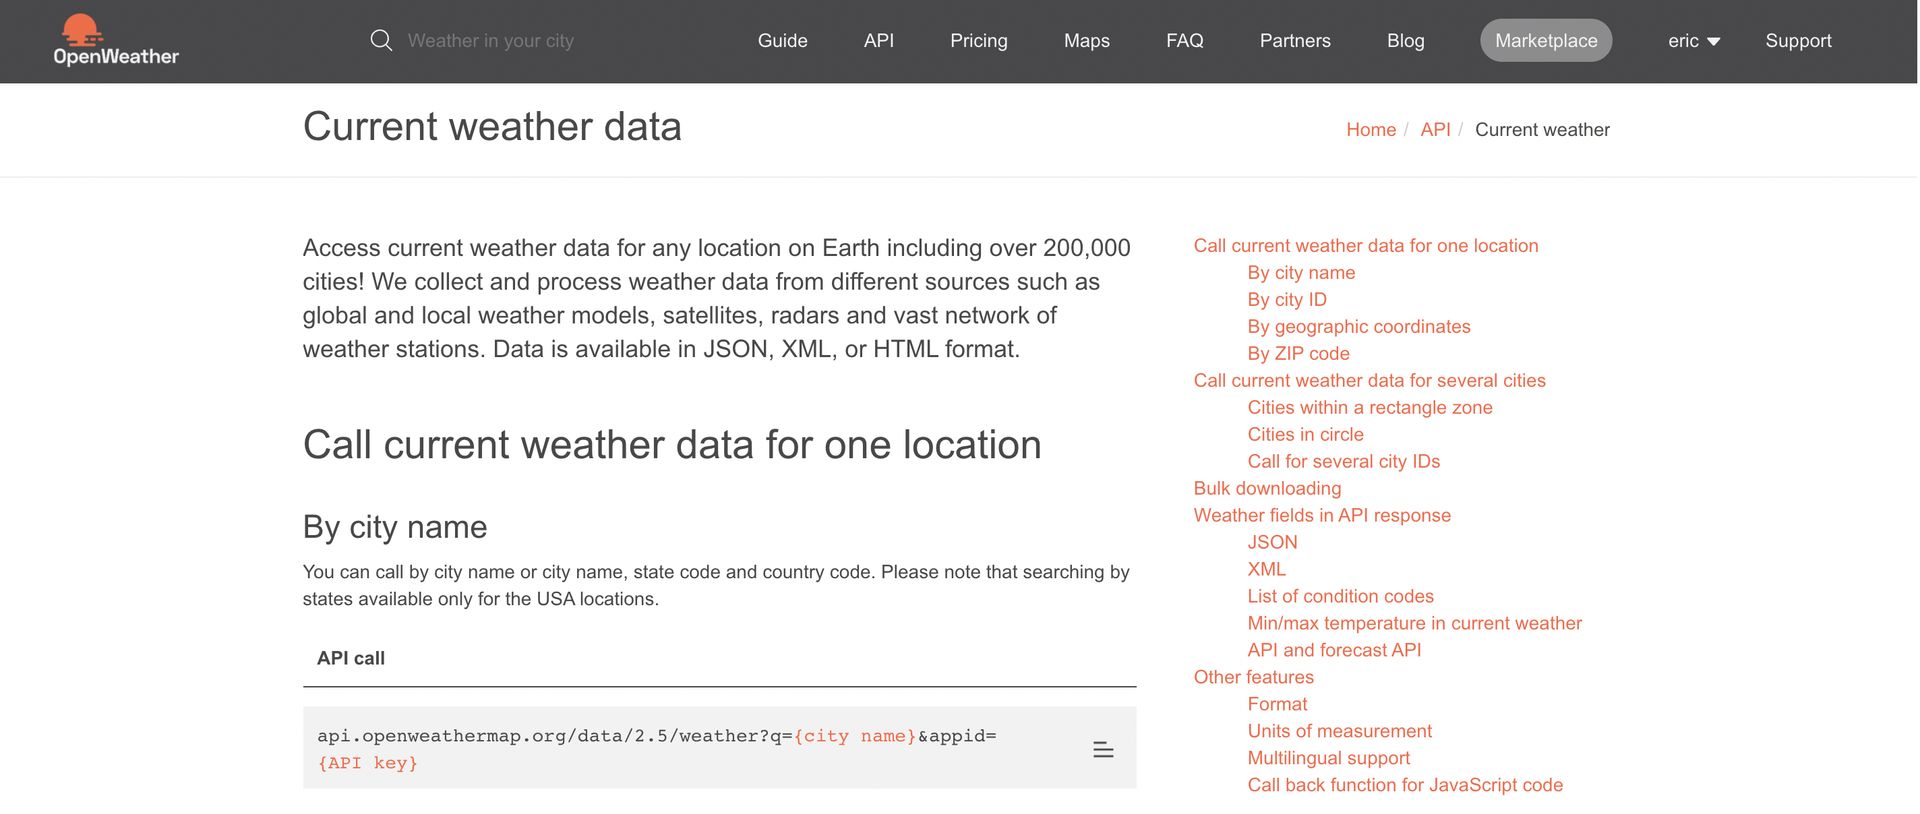
- Copy the API URL from the https: until just before the ?. The rest corresponds to query strings that will be specified in the HTTP component properties.
https://api.openweathermap.org/data/2.5/weatherGenerate Your Personal API Key
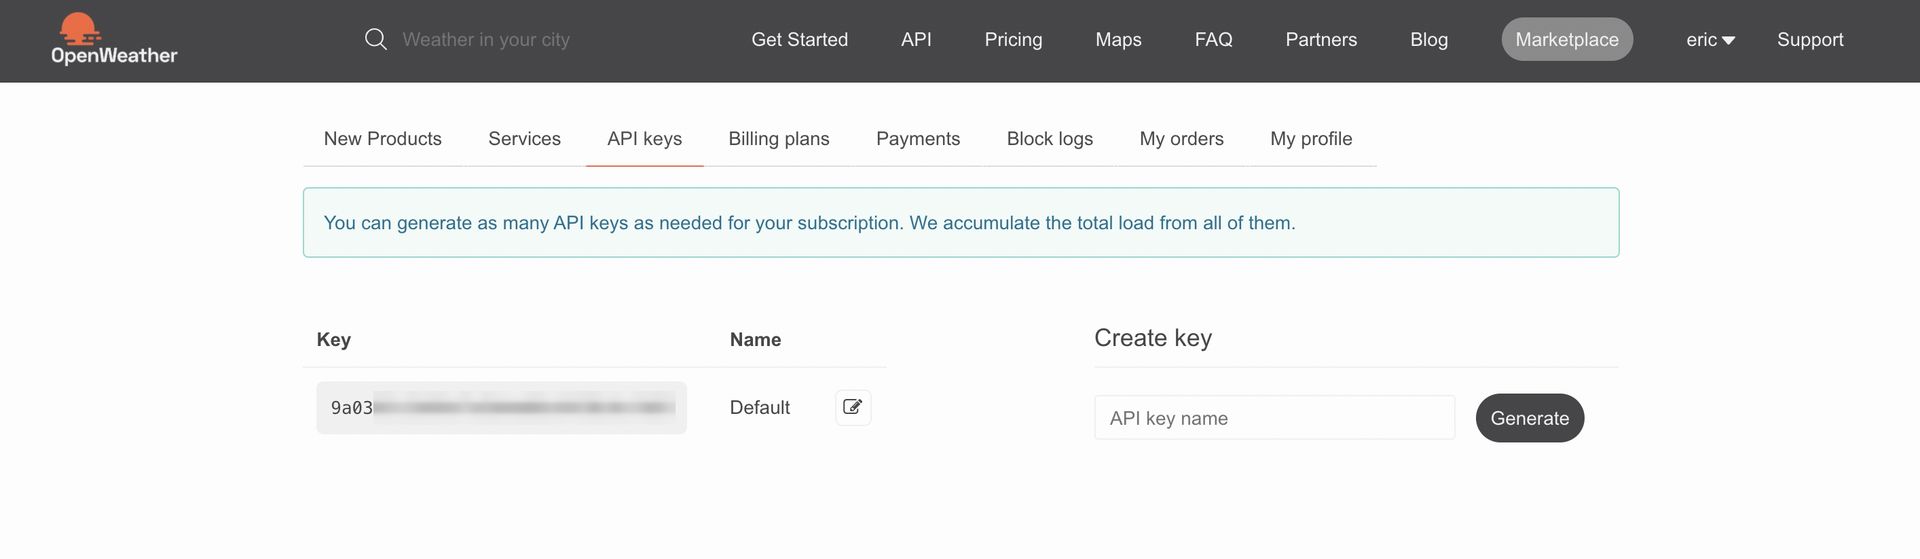
To generate your API key (app ID / API Key), go to your Account, section API keys.
Set Up The API In Your PandaSuite Project
The connection to an API is made using the HTTP component.
Insert The HTTP Component
- Open your project.
- Click on Components and insert an HTTP component.
Place this component at the Project level so that it can be queried from any screen of the app. Otherwise, place it in the screen that displays this data.
Configure The HTTP Component
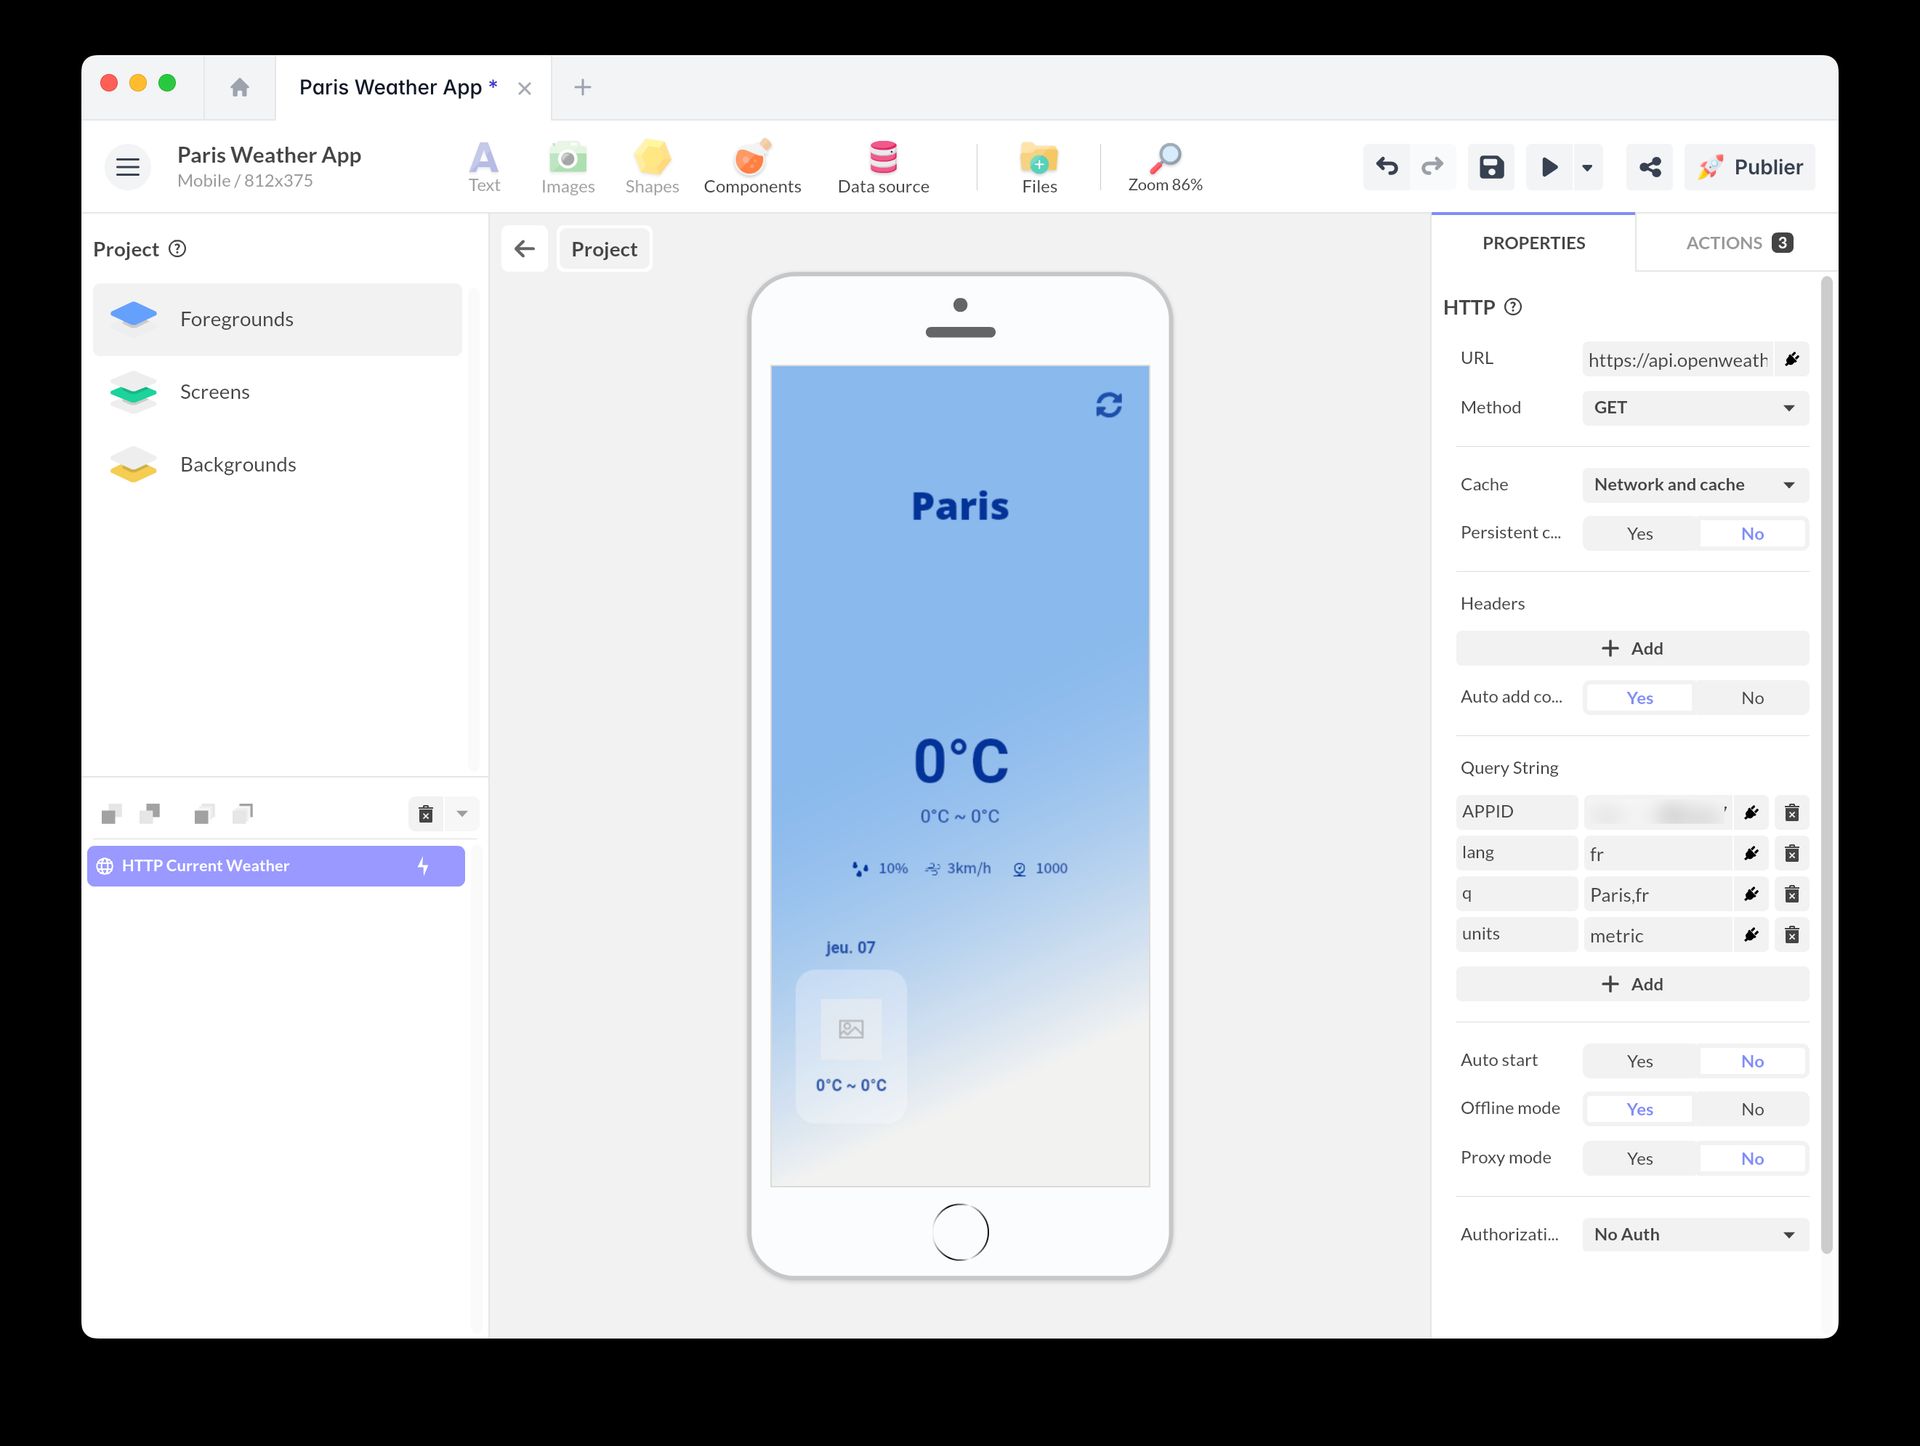
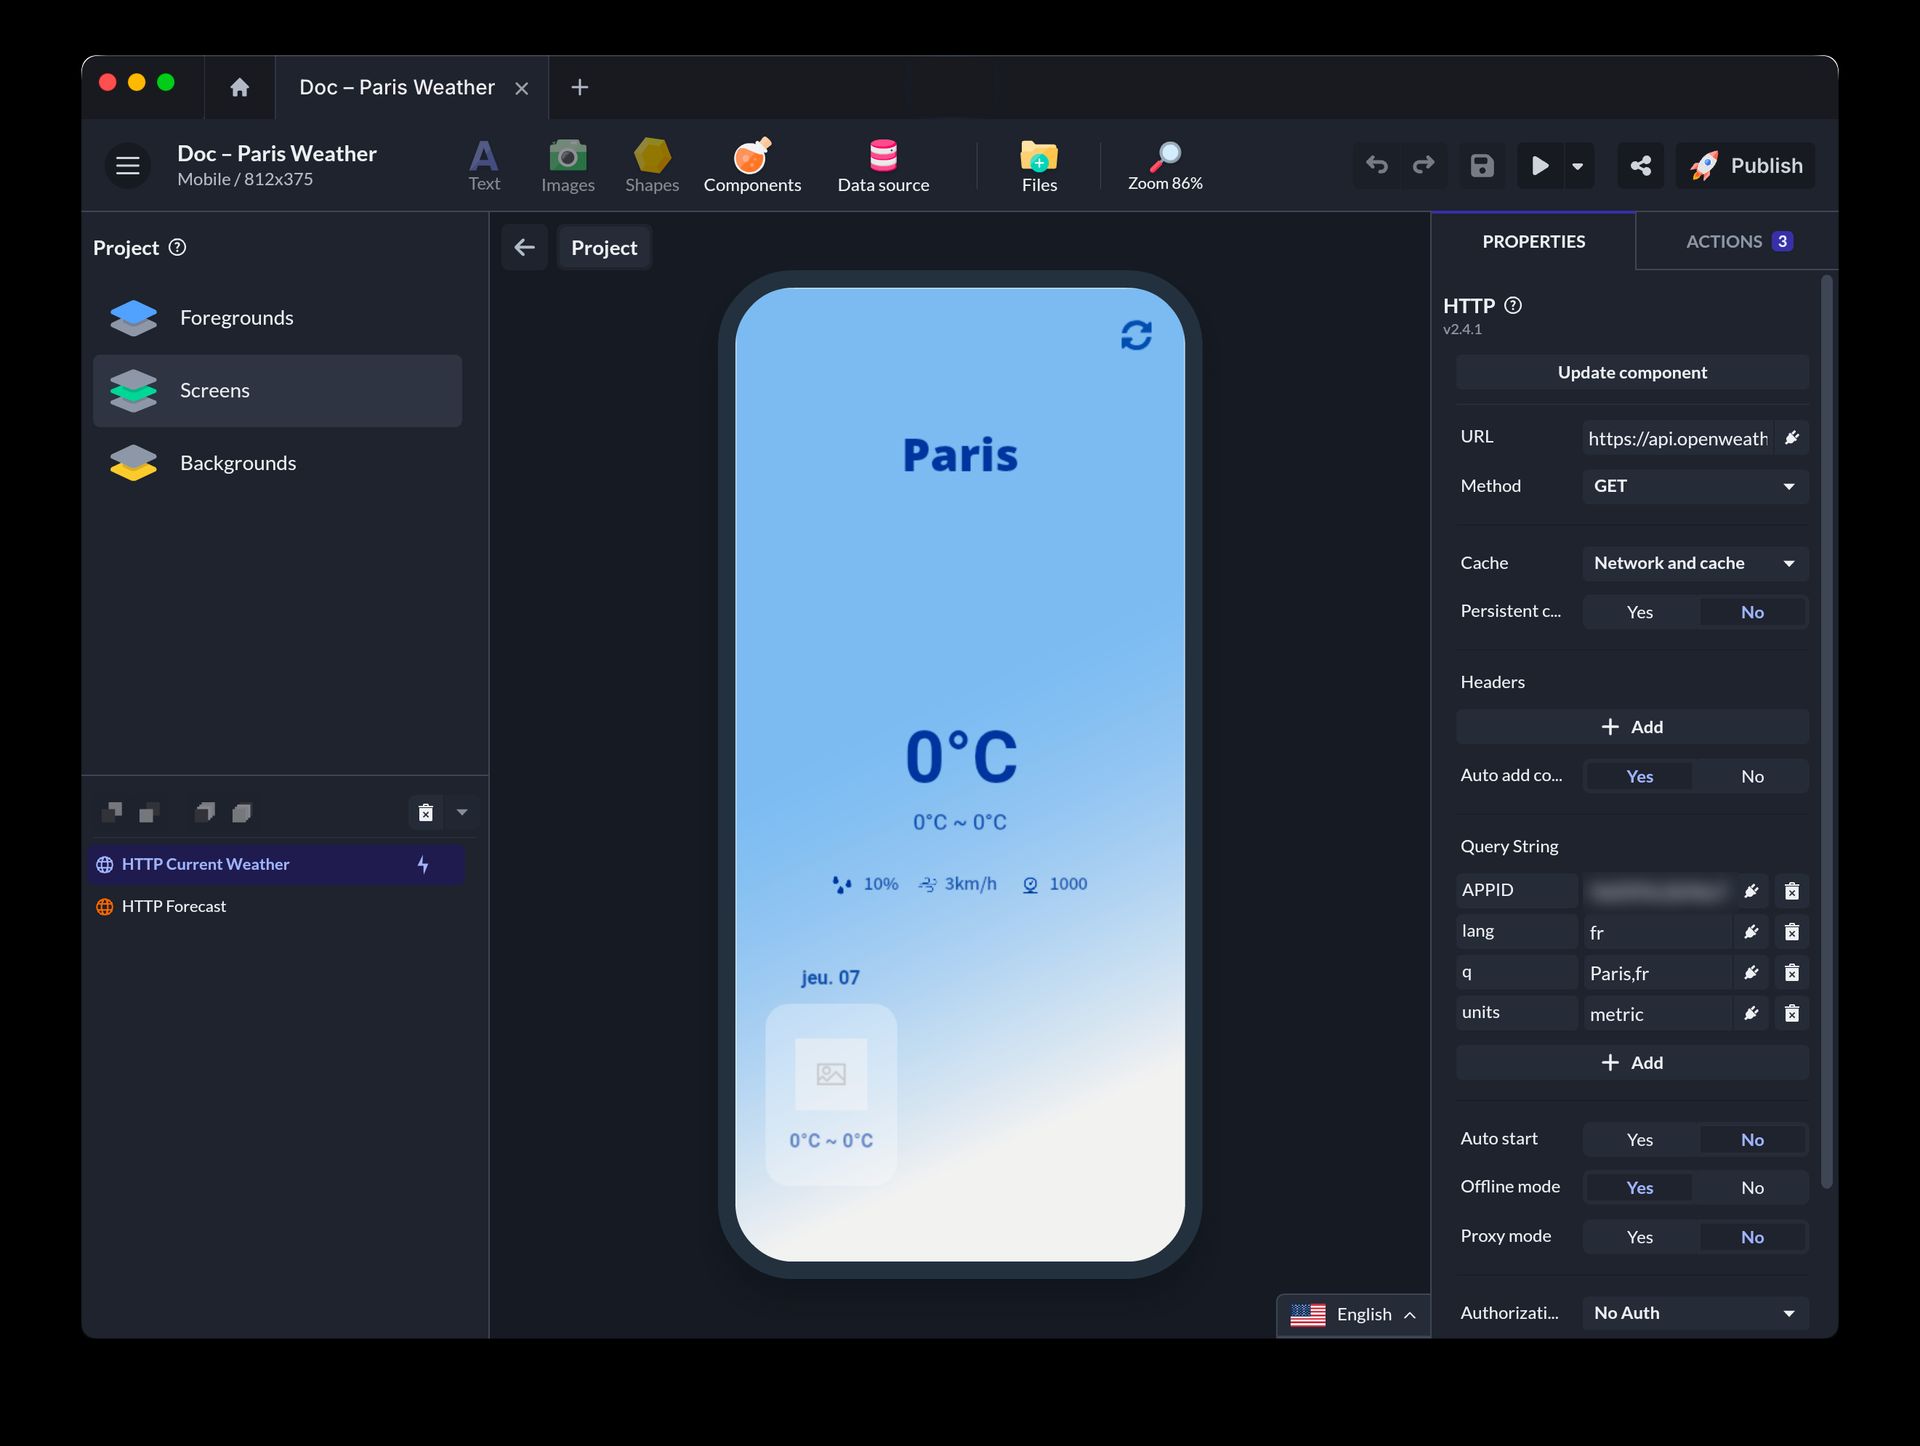
Define the properties of your HTTP component:
- URL: Paste the API URL.
- Method: Choose the GET method to request data from the API.
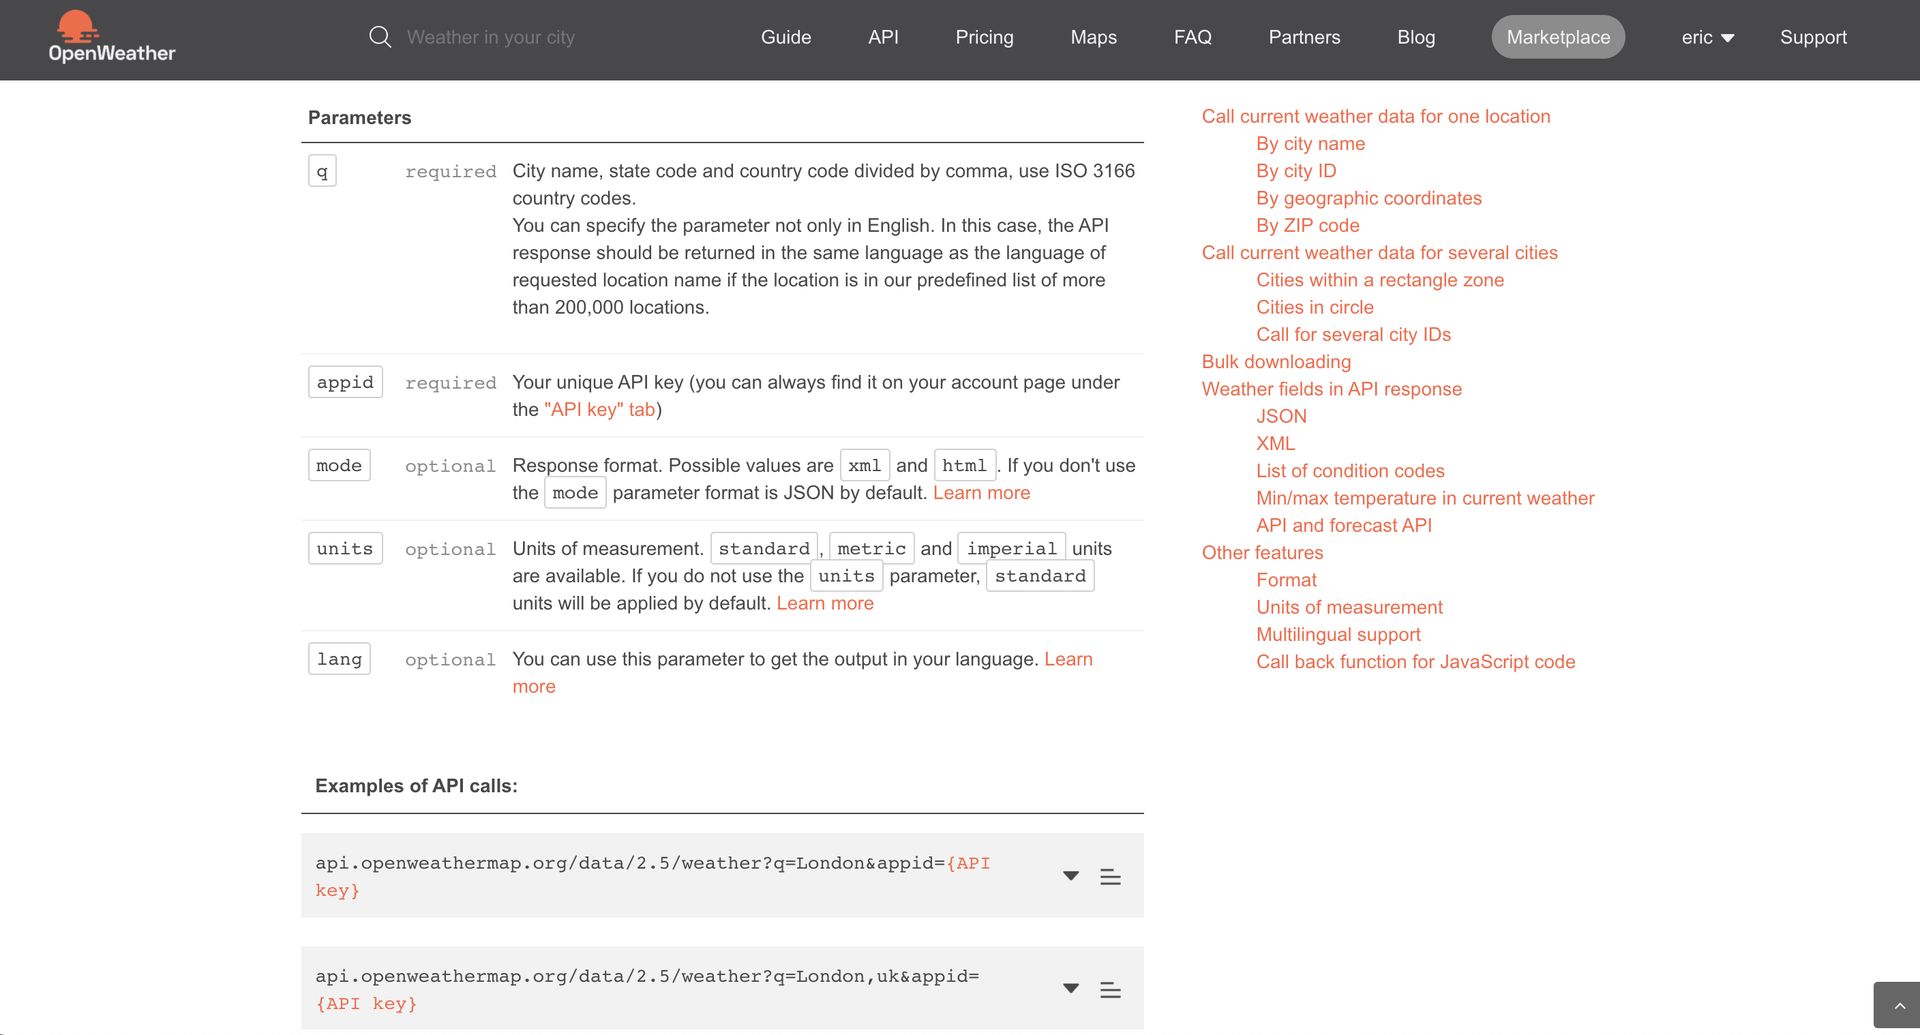
- Query string: OpenWeather provides Query strings to assign values to parameters in your API request:
- q: The city (e.g., Paris,fr).
- appid: Your personal API key generated from the OpenWeather interface.
- units: The unit of measurement (e.g., metric).
- lang: The language (e.g., en).
- Cache: You can also customize caching. Choose Network and cache: the app queries the network first to get up-to-date weather and, if the network can’t be reached, displays the last cached response.
Test The Request
Now check that your connection is set up correctly.
Click the Edit button on the HTTP component (or double-click the visible HTTP component field).
Information appears. Click the Test Request button.
View your request results: If the raw data corresponds to your expectation, the API has been correctly configured.
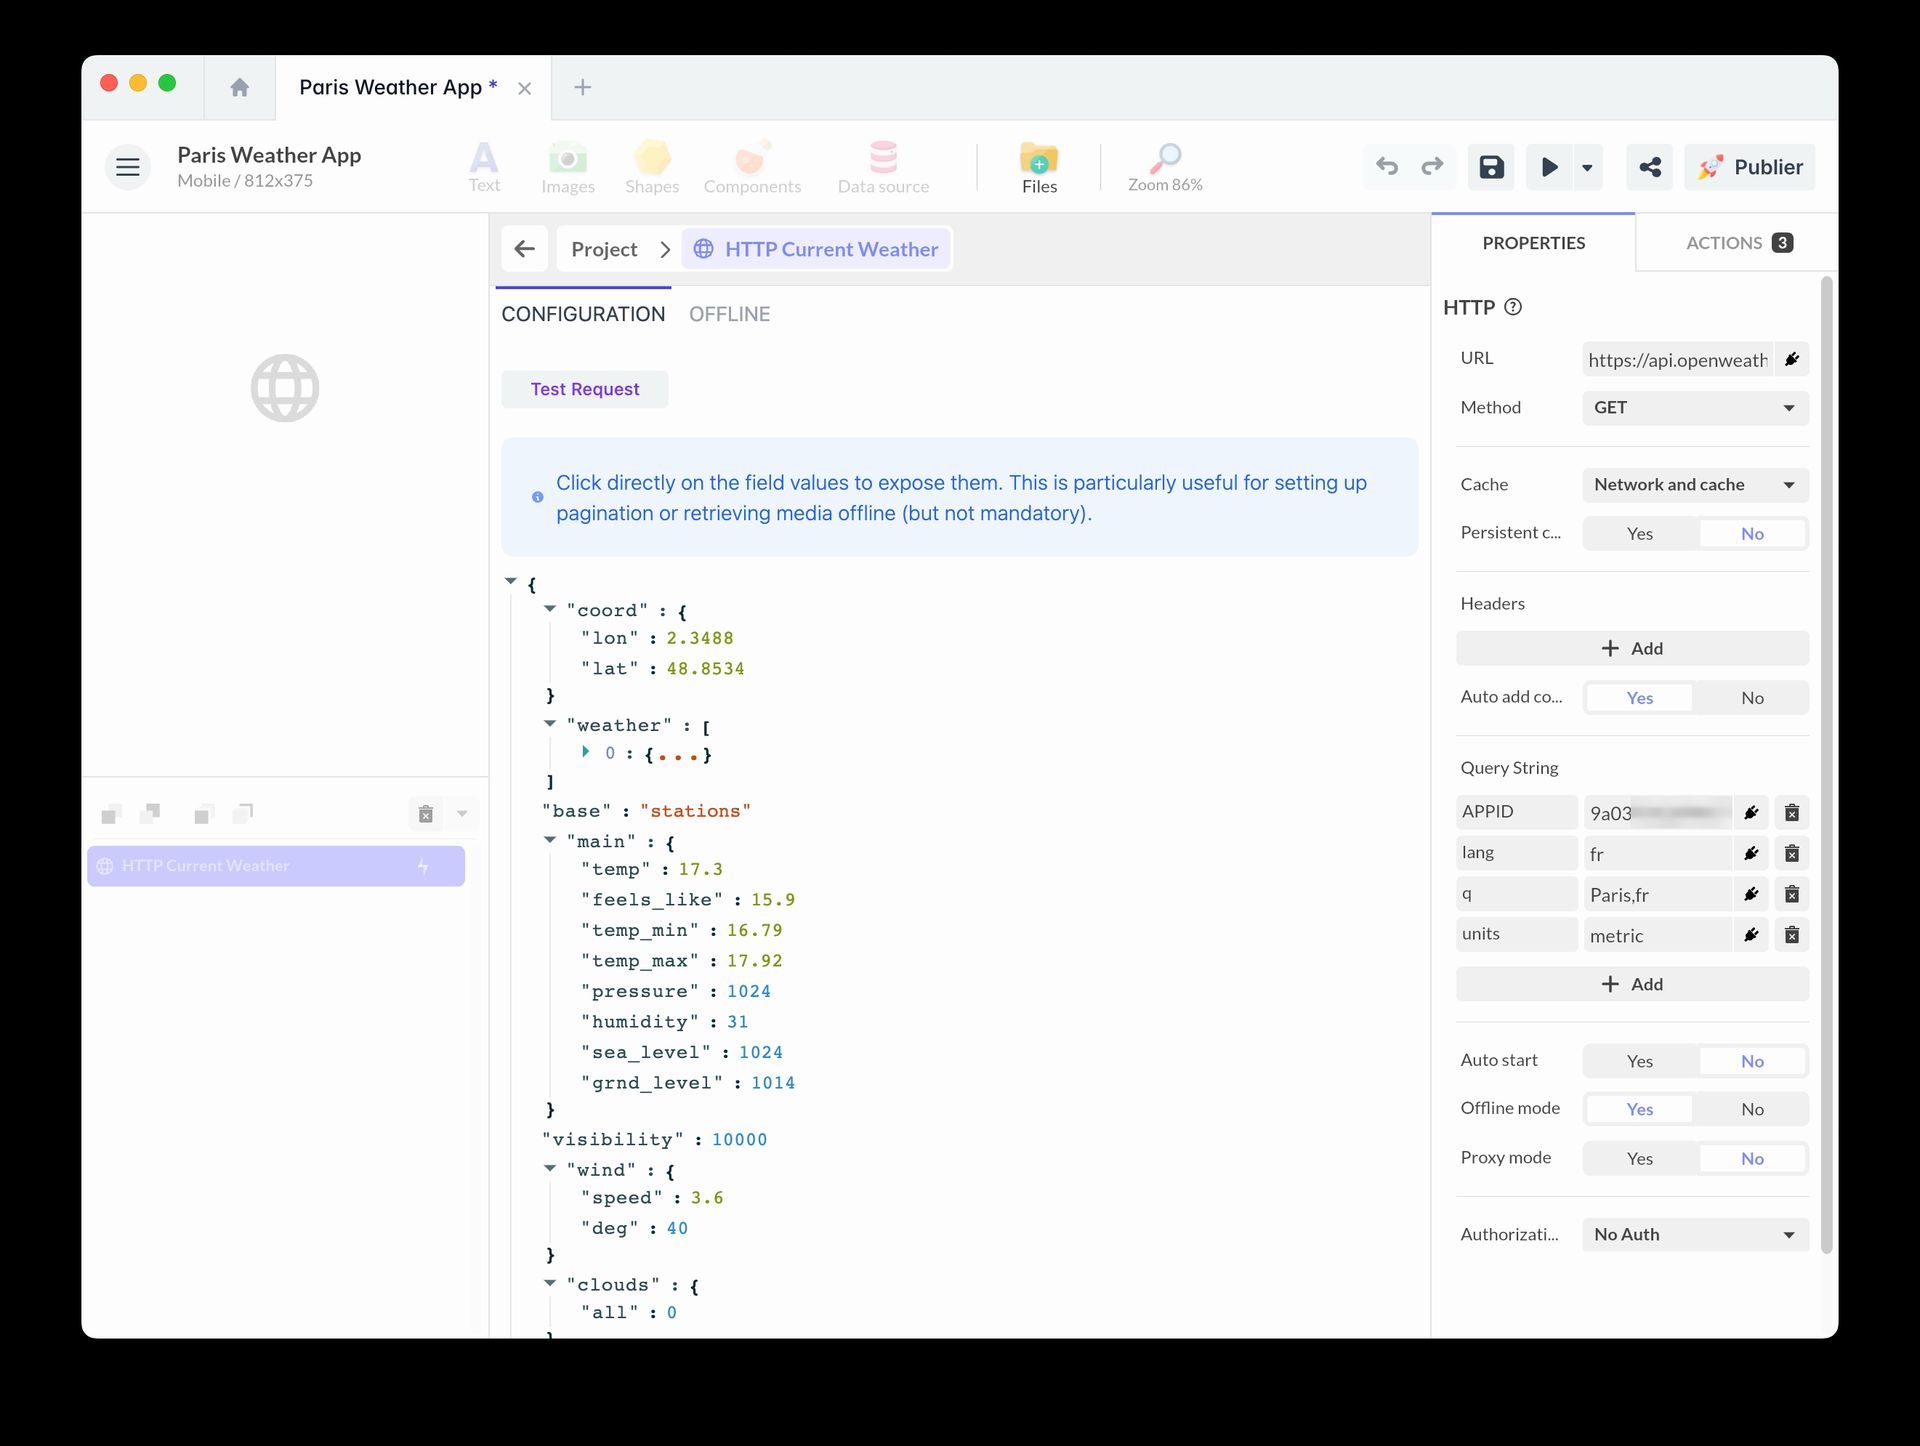
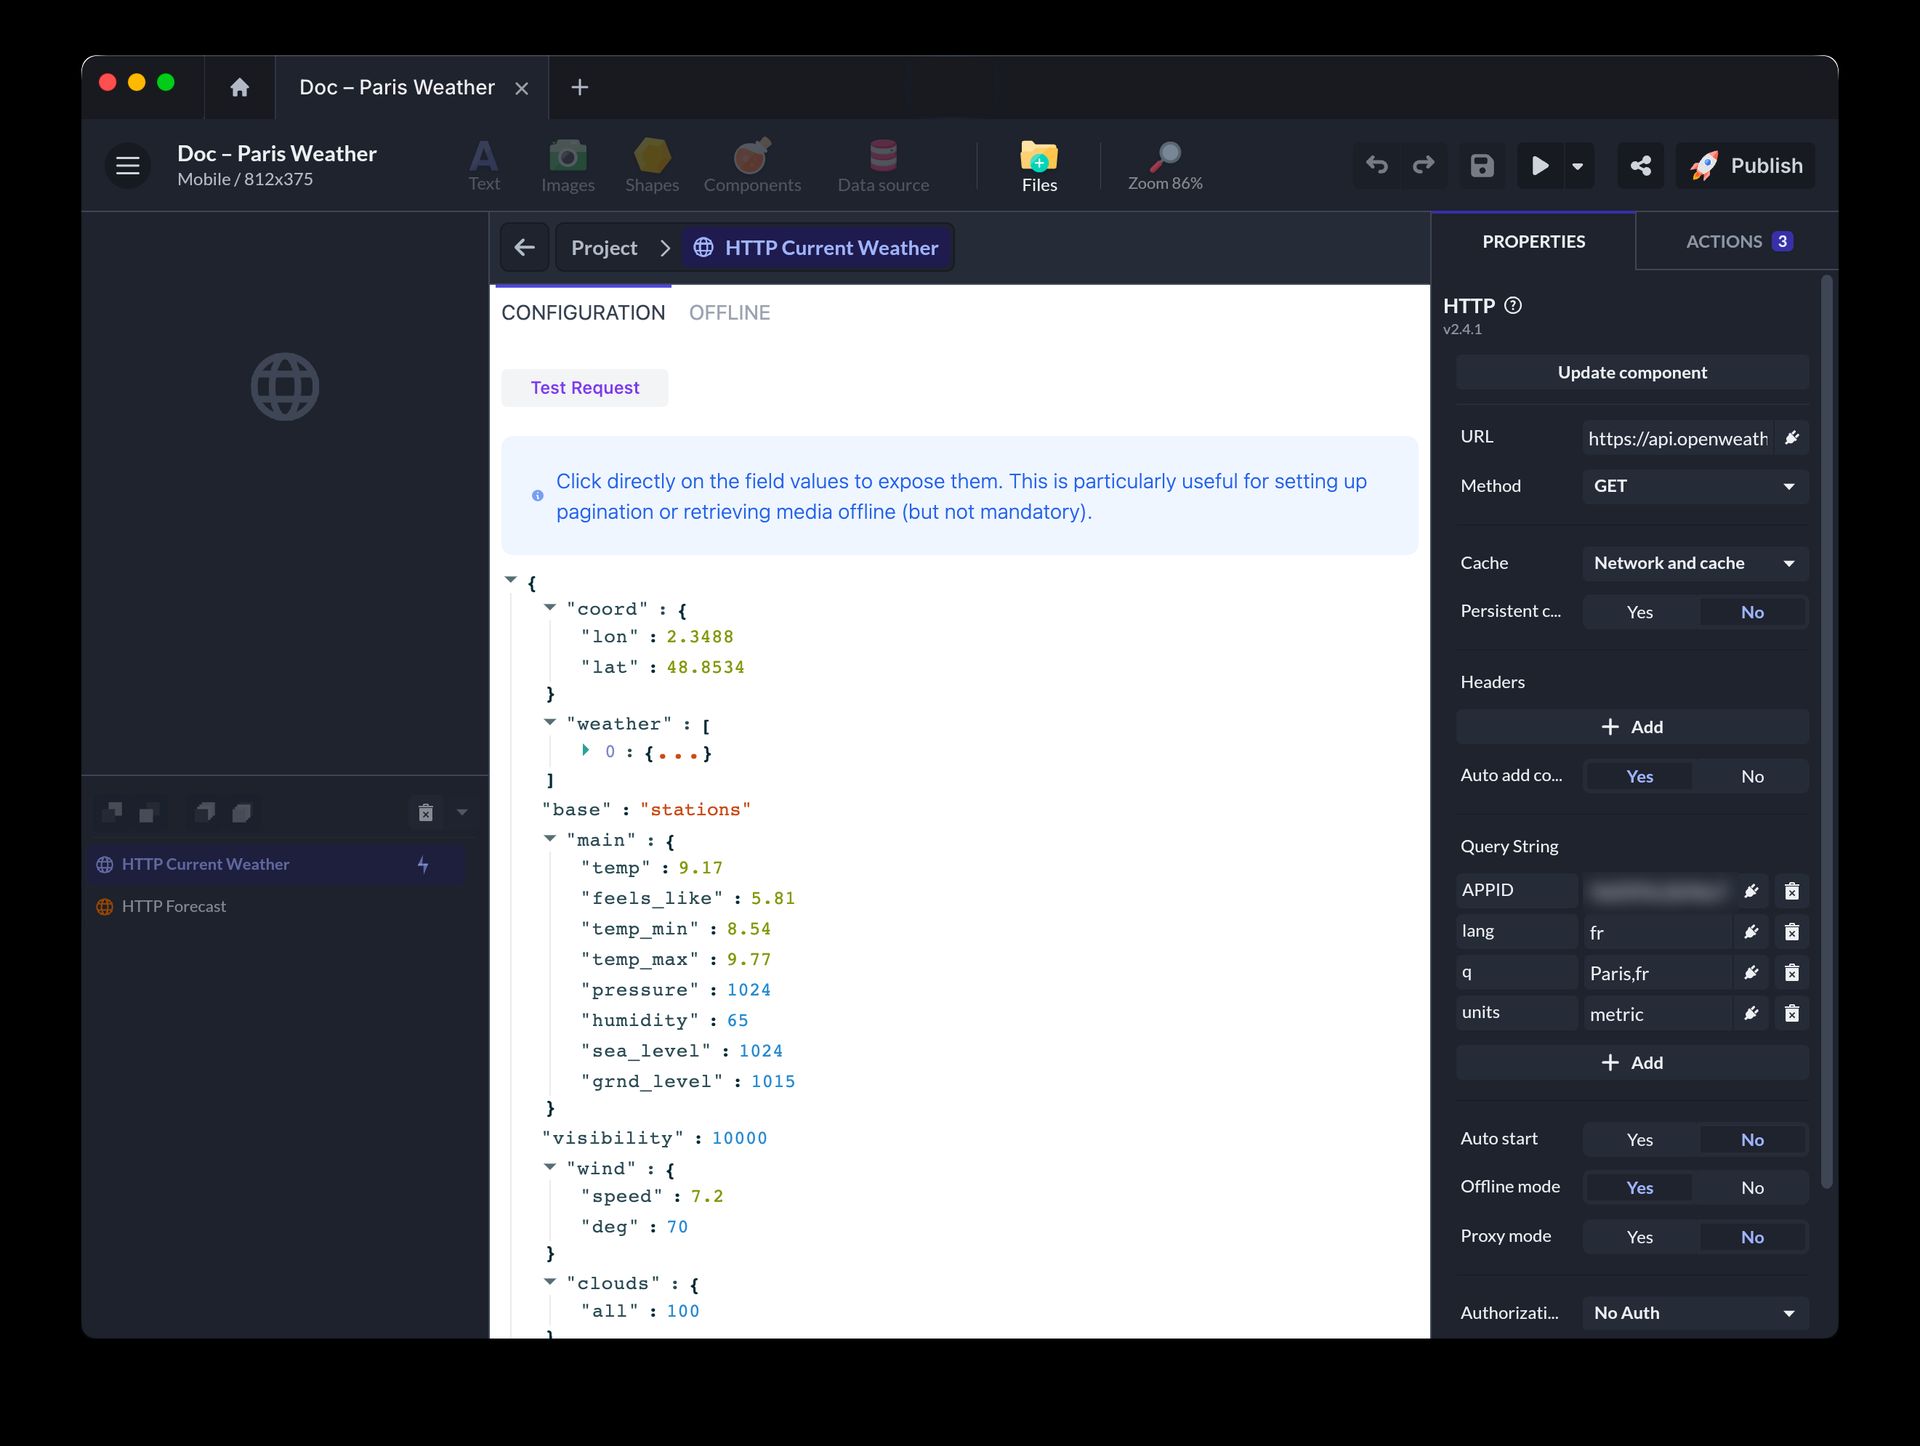
This response helps you understand the structure of the data and write the right formulas.
Creating A Custom Display In PandaSuite
We have prepared our screen showing today’s weather and the temperature. The goal now is to connect to the Current Weather API to display the right data.
Display The Temperature
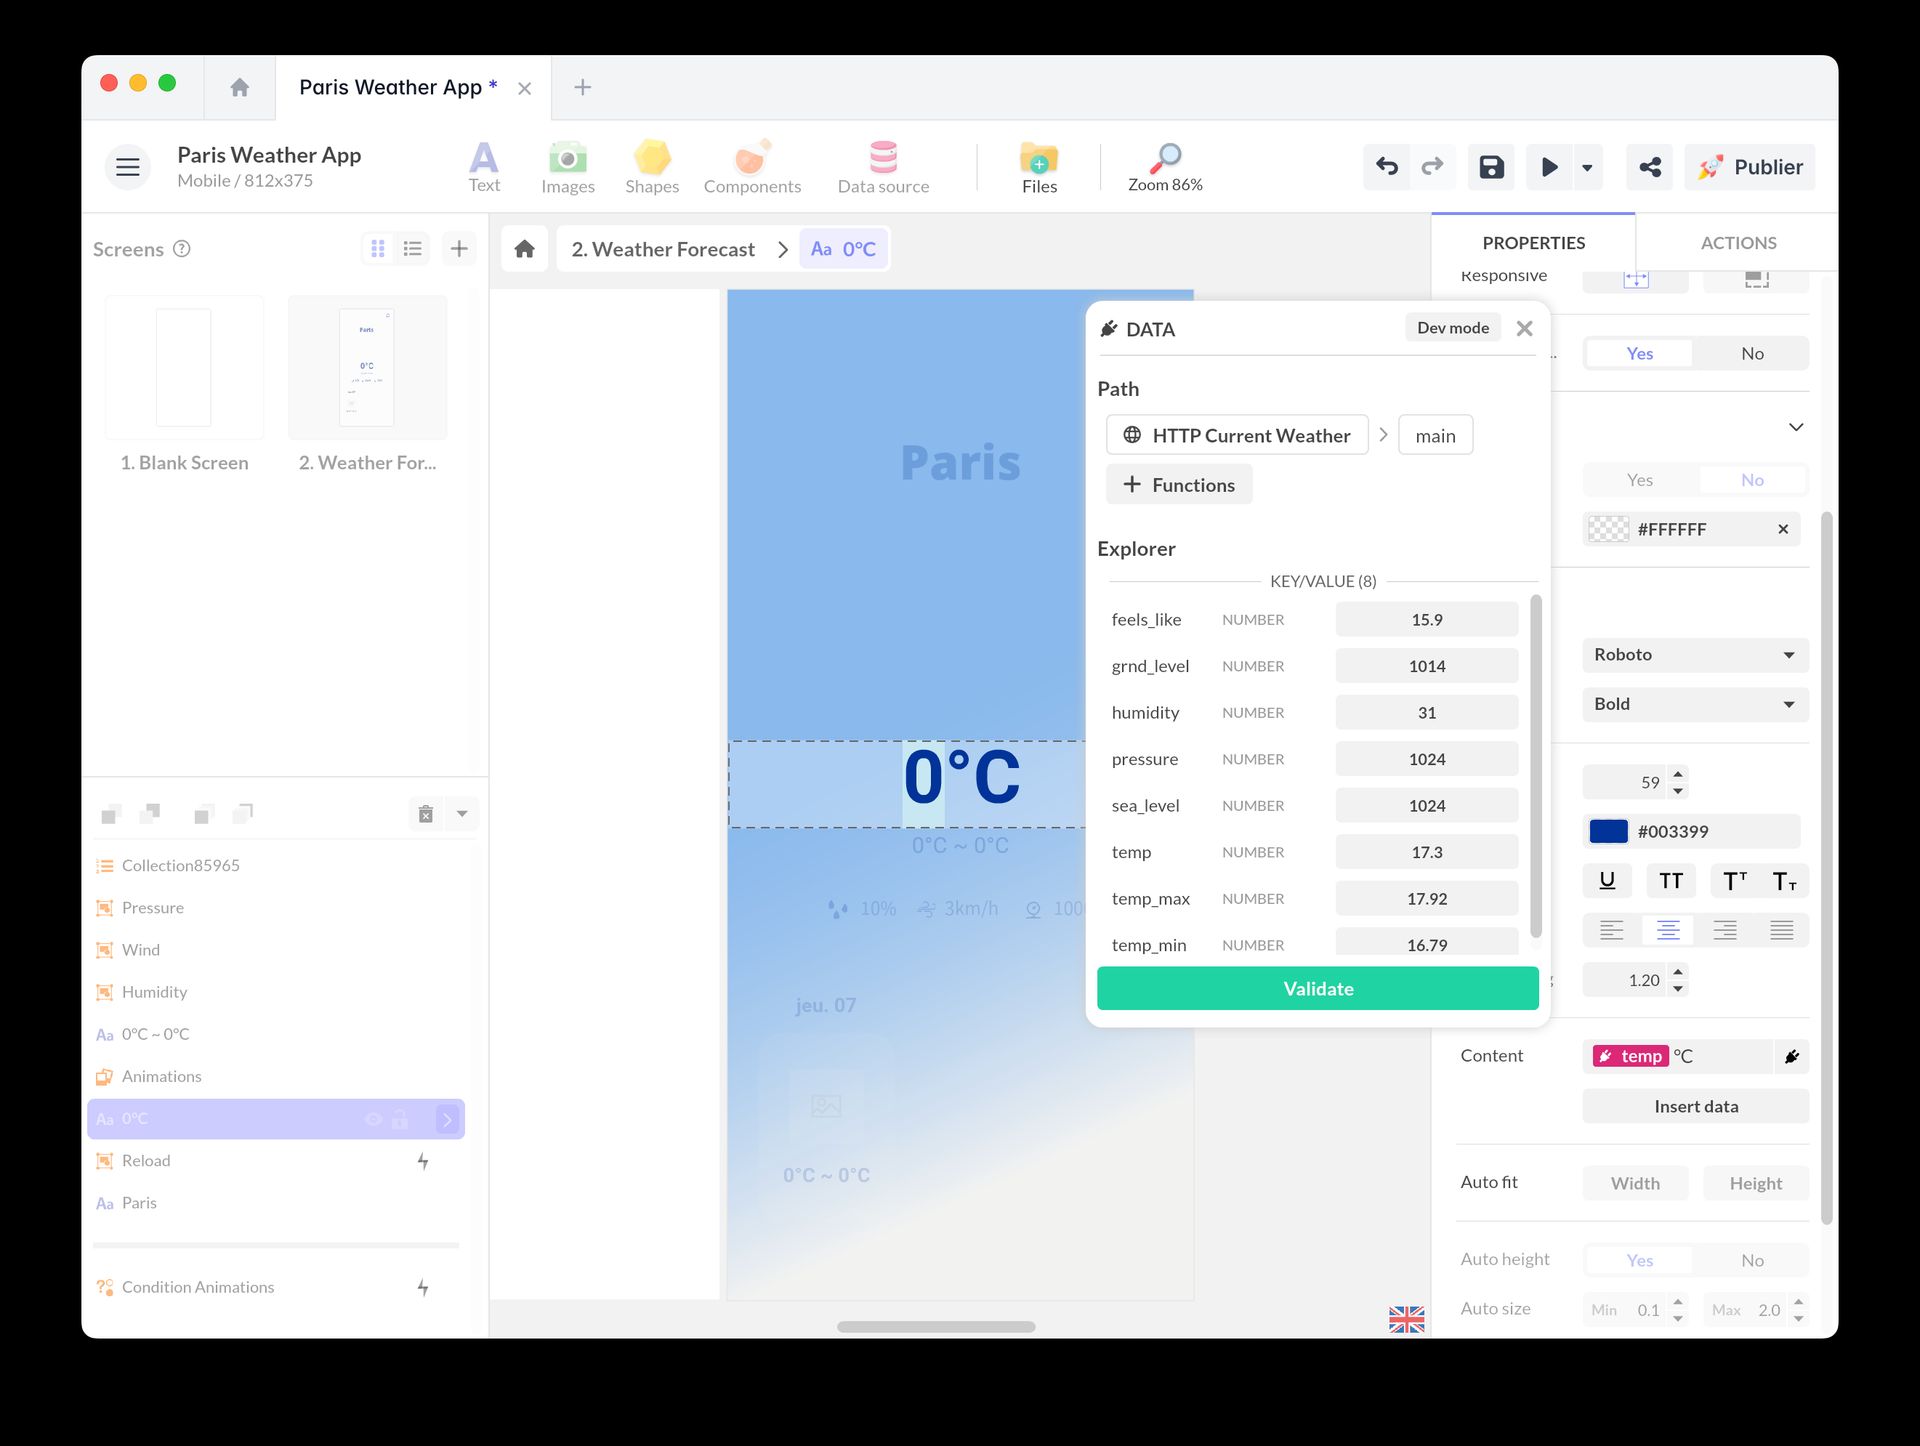
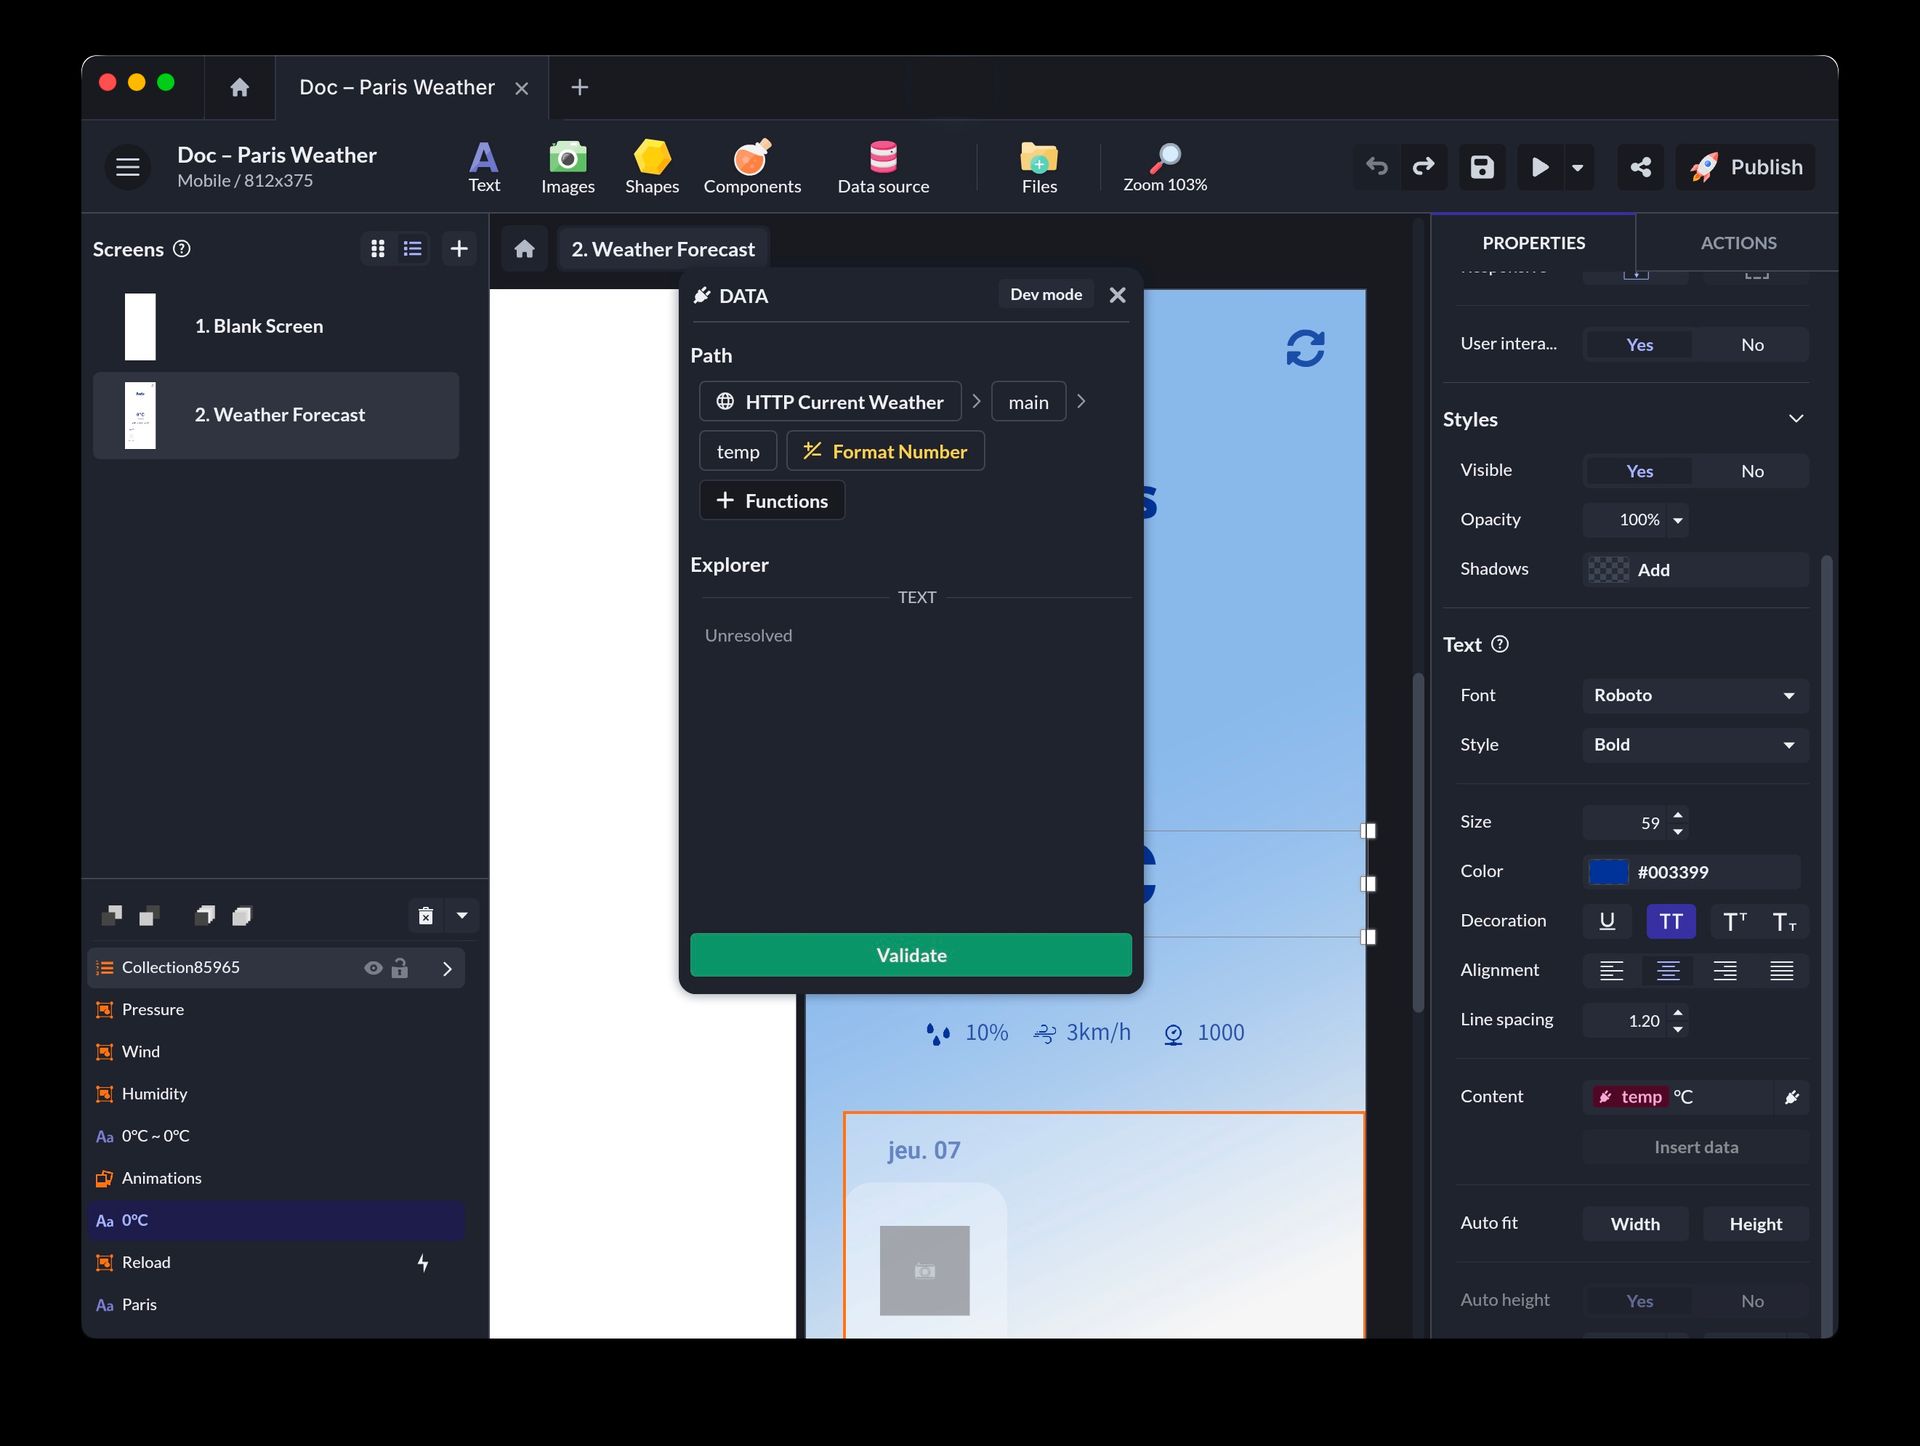
- Select the text block indicating the temperature.
- Go to Properties and specifically the Content to add data binding.
- Choose From a data source > HTTP component > main > temp. Use the FormatNumber function to display the temperature correctly.
Display A Weather Icon For Today
OpenWeather provides today’s weather through its API in the icon field. This icon field has different values (01d, 02d, 10n, etc.) matching different weather conditions: clear sky, few clouds, scattered clouds…
For example, 10n stands for light rain.

Instead of using these icons, we inserted a series of After Effects animations in a Gallery component. Each animation matches a weather value.
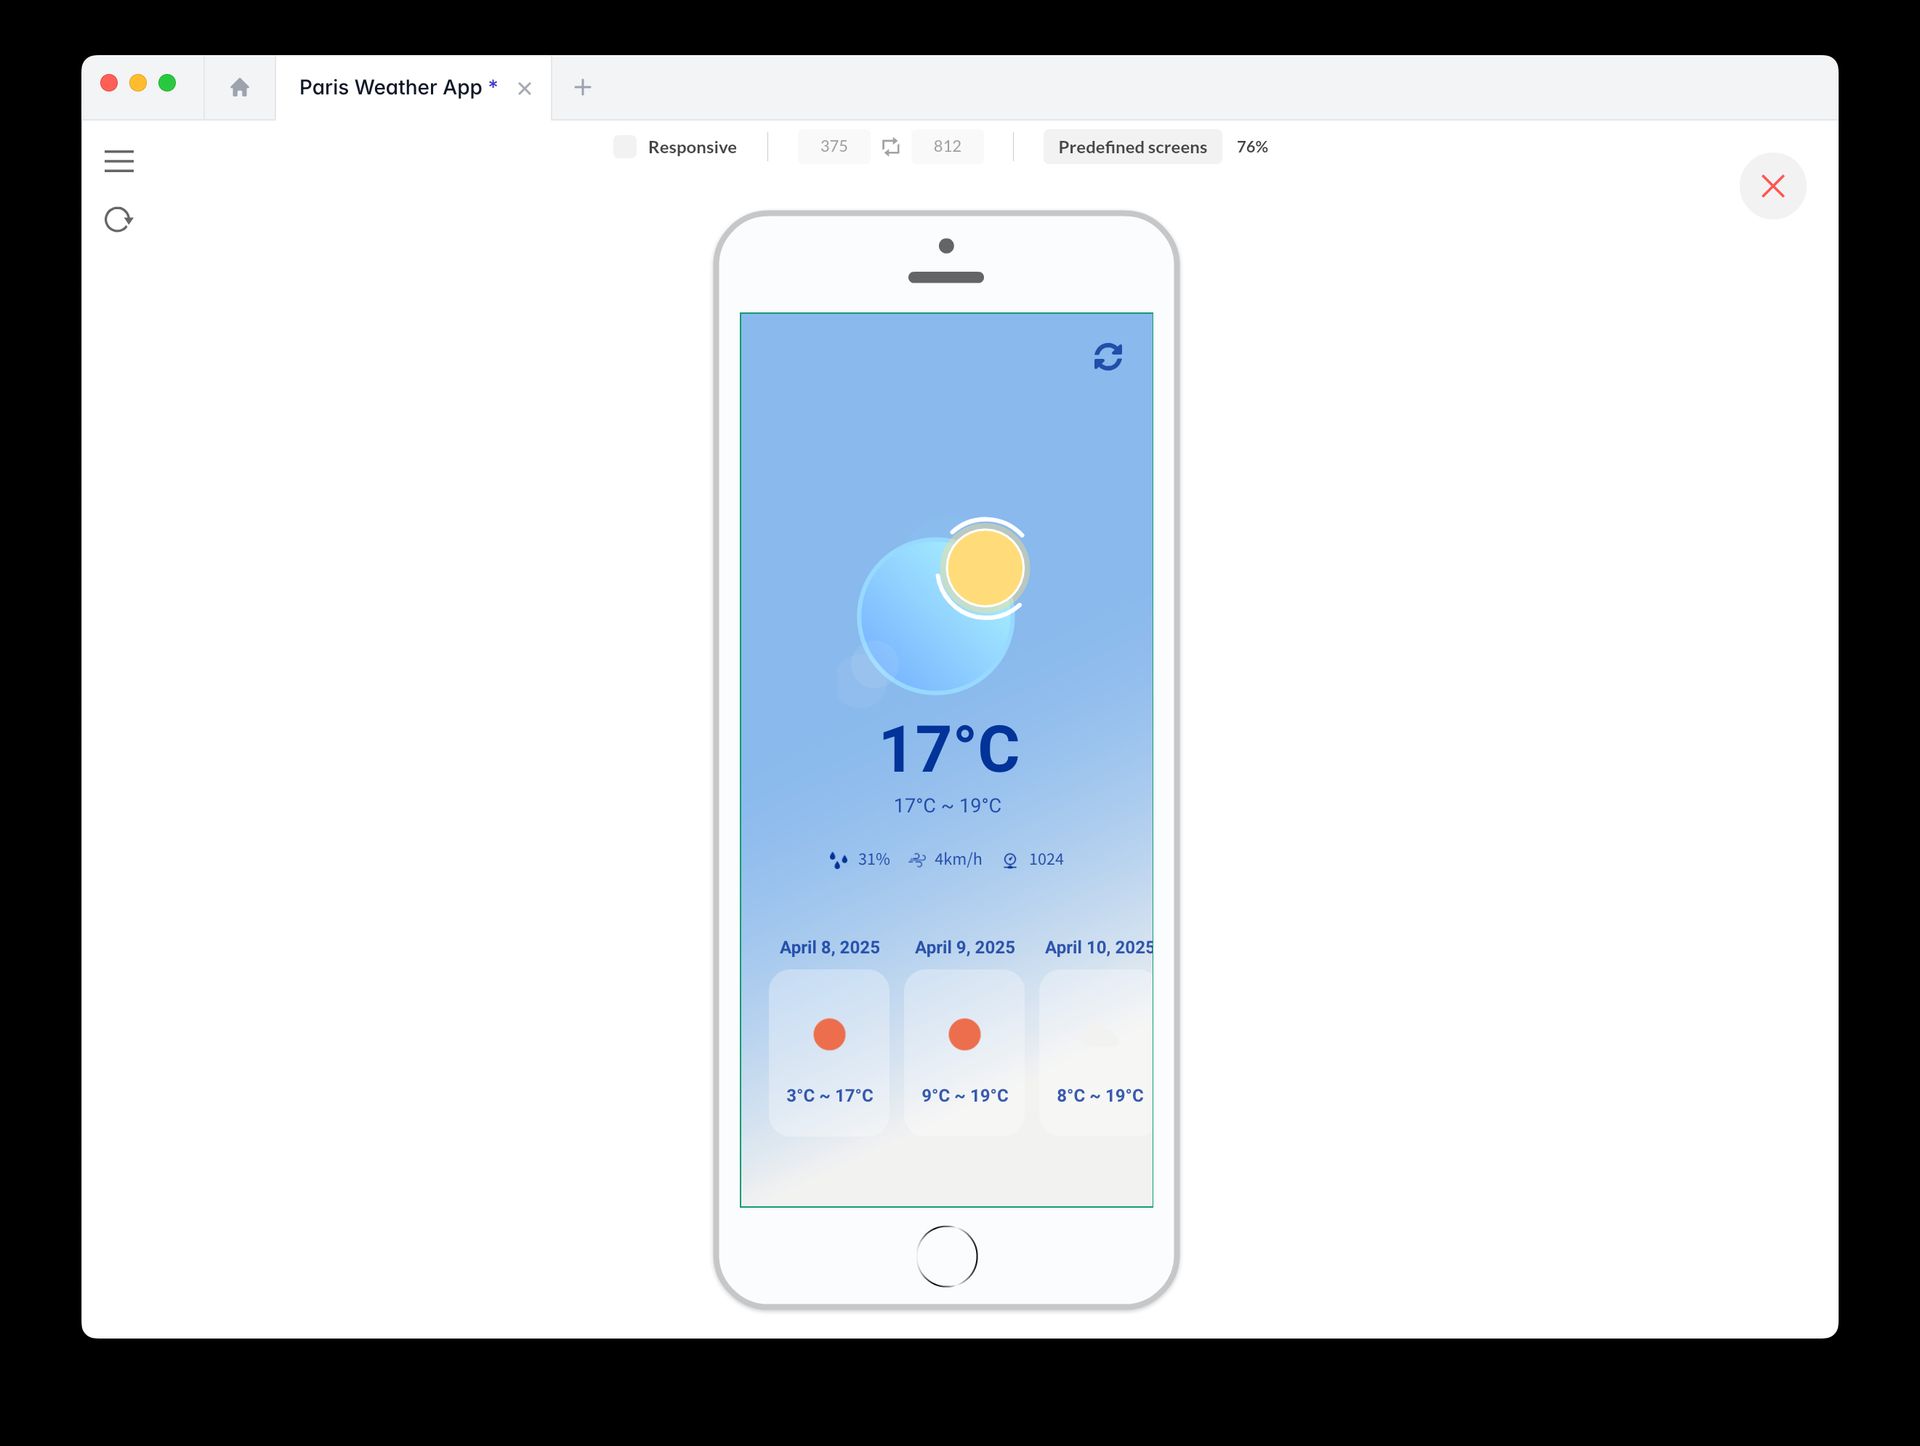
The goal is to display the right animation according to the value returned by the API.
- Insert a Condition component.
- In the Properties window, create a condition for each value:
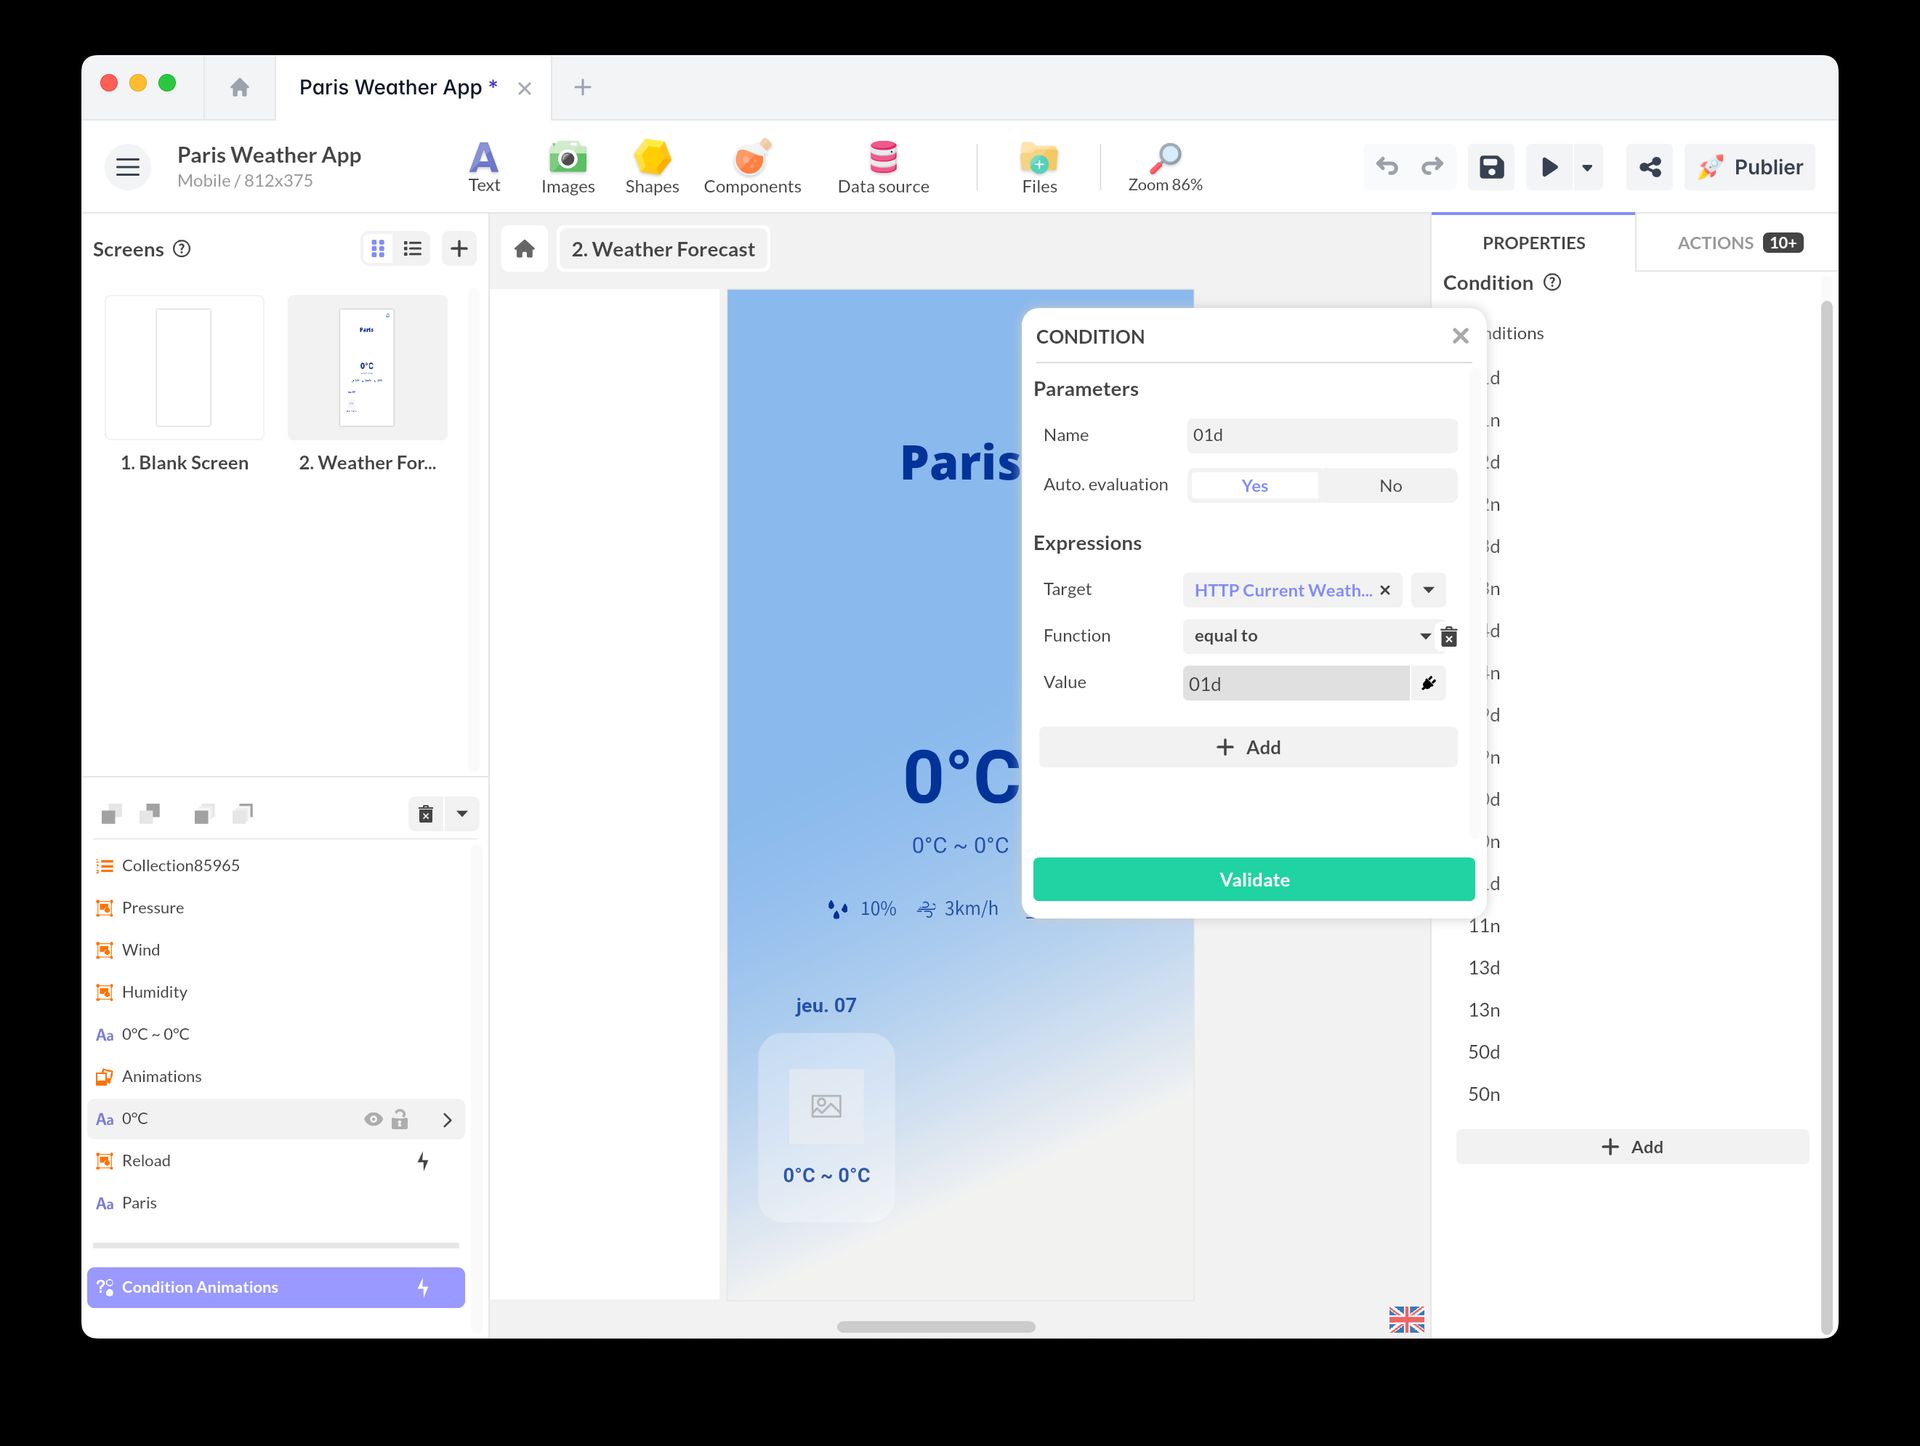
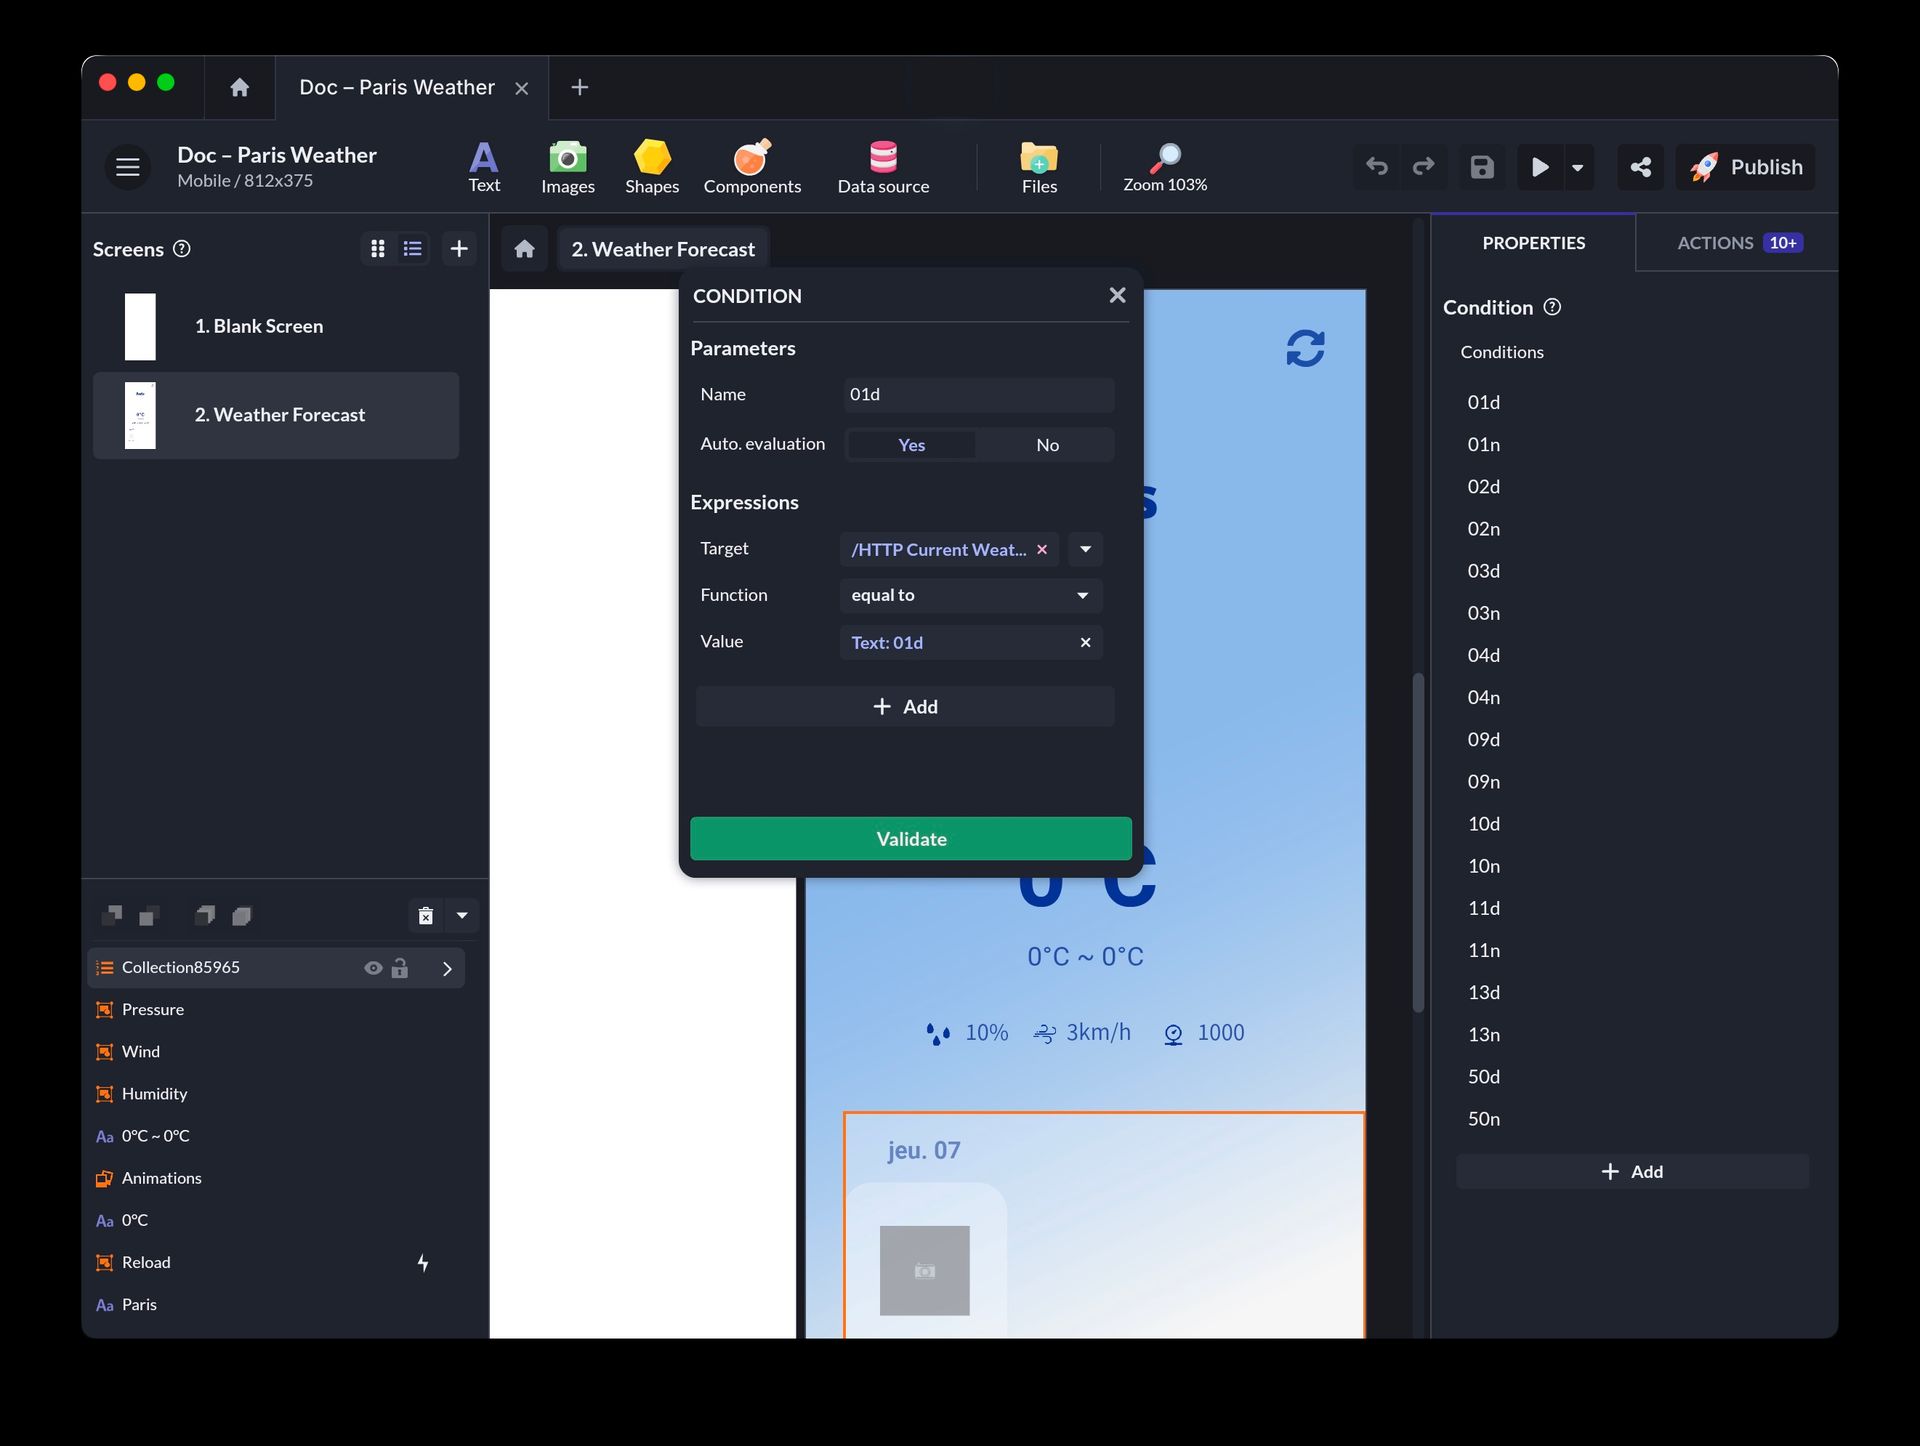
-
Rename each condition with the name of the value, for example 01d.
-
Check the Automatic evaluation box.
-
Add an action to the trigger Evaluation (01d) > Interact with a component > Gallery > Select a page (01d).
Start The Request
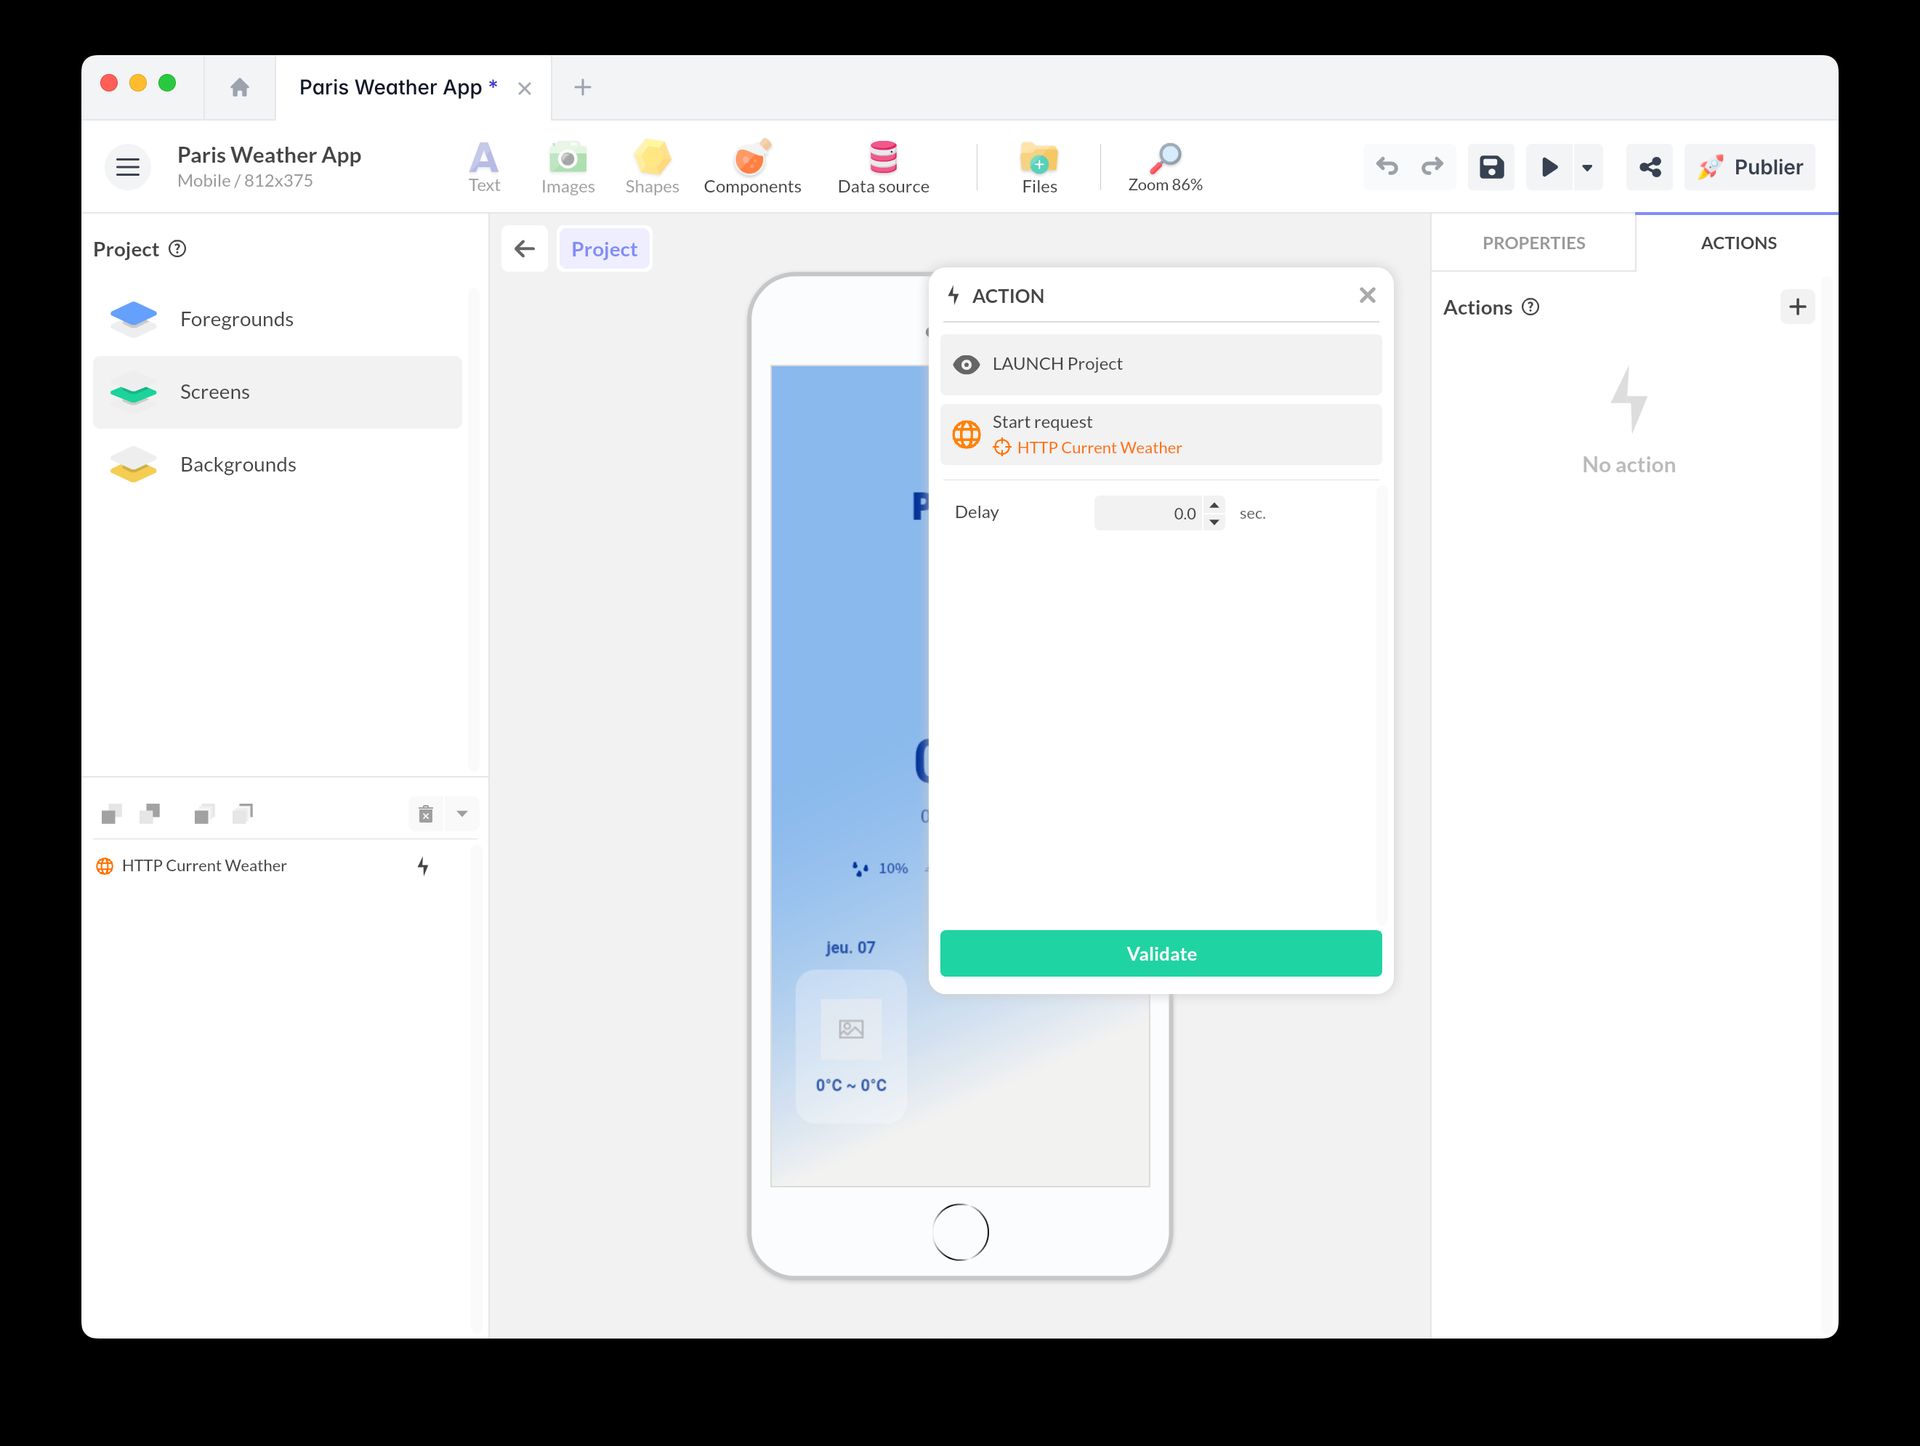
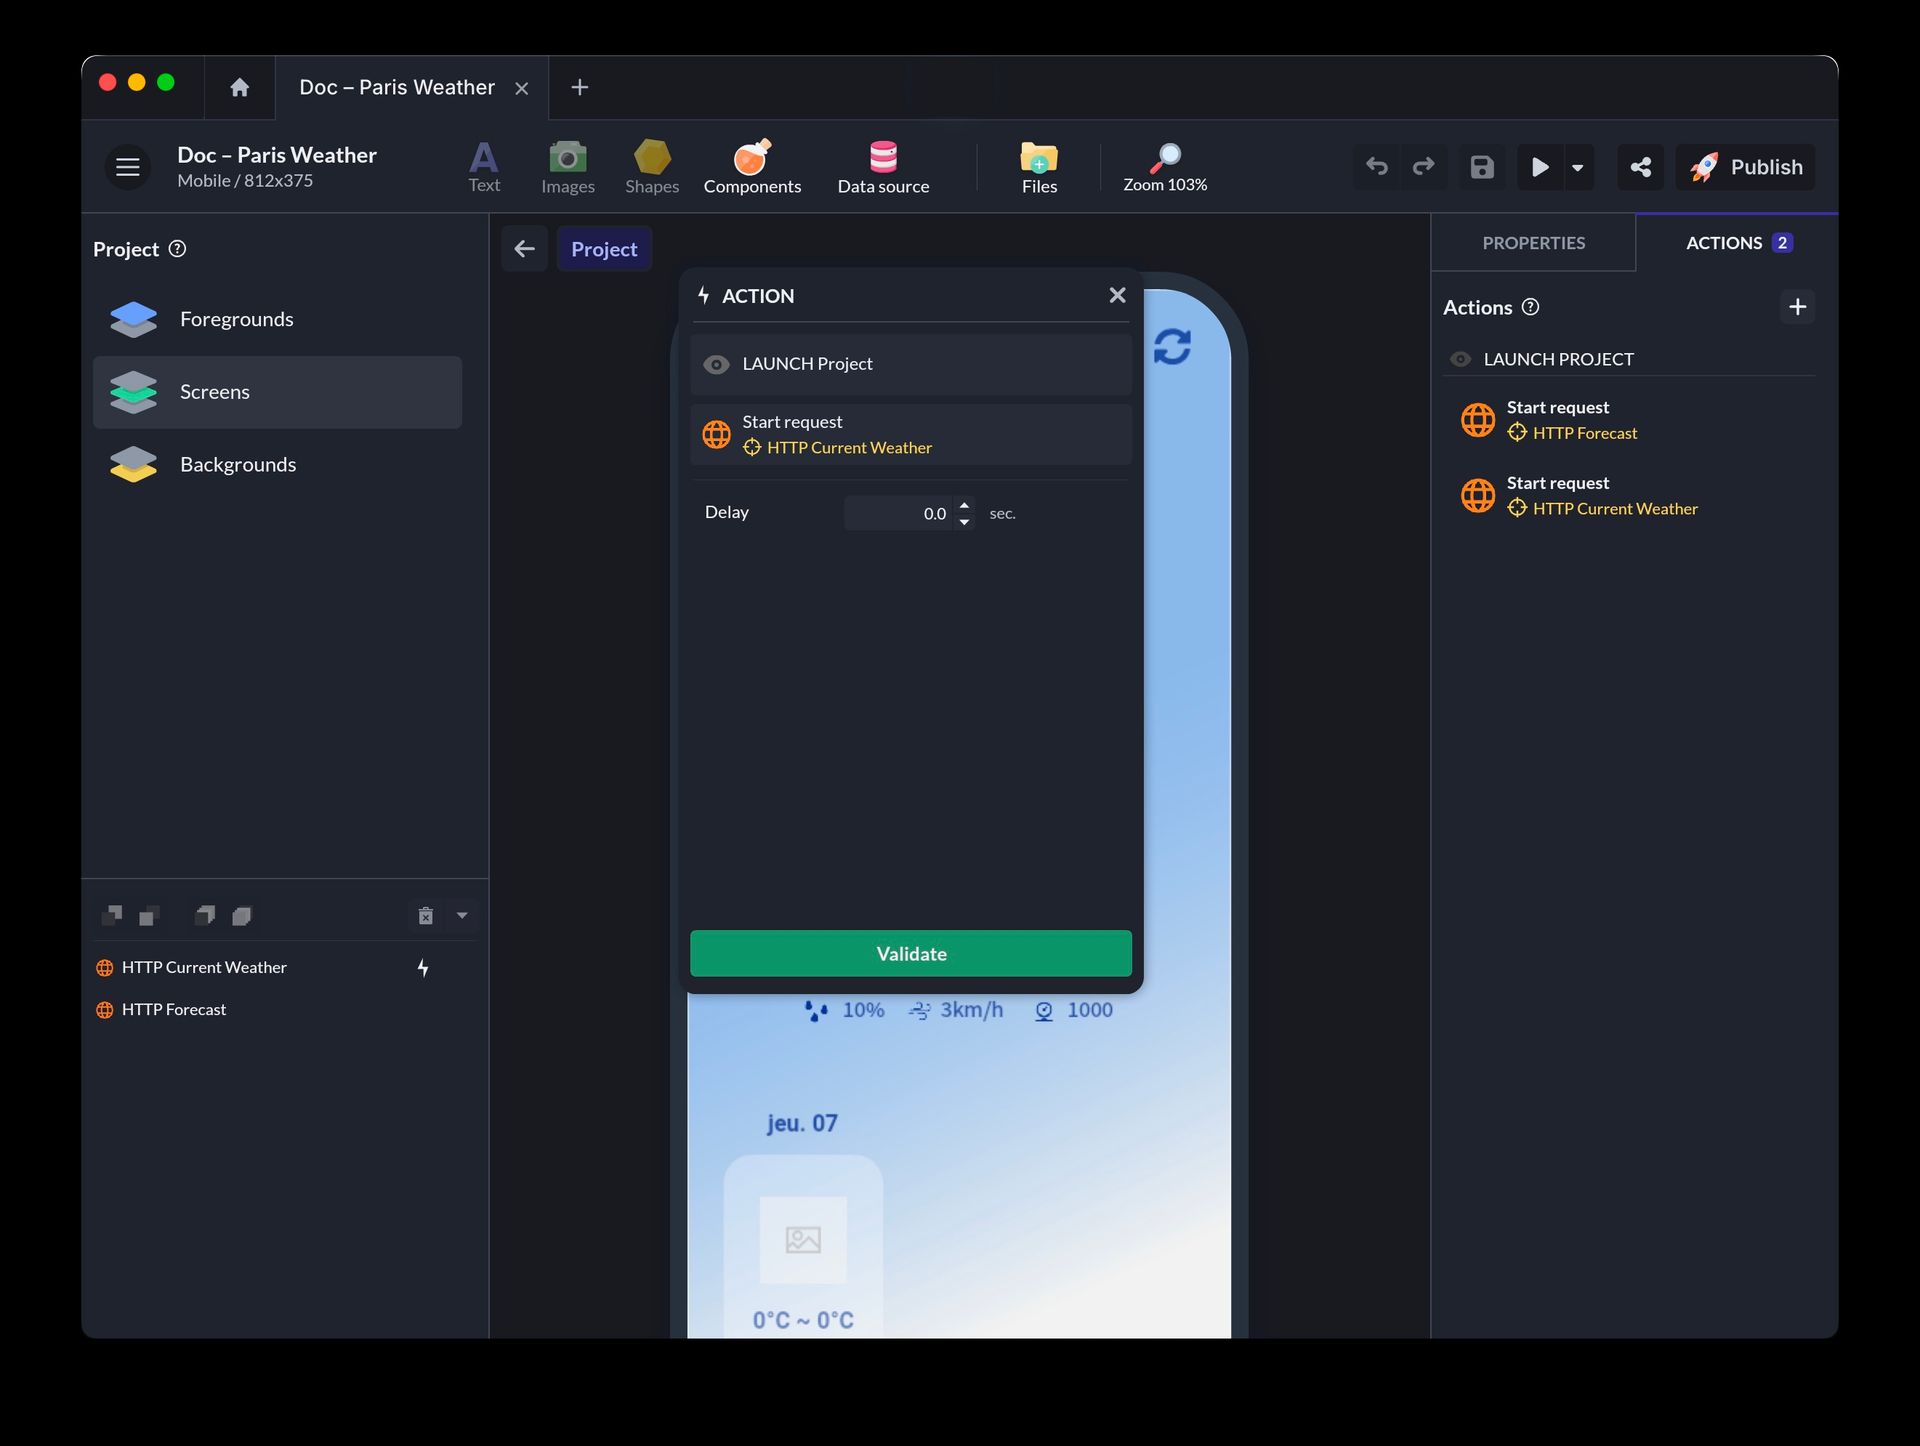
You need to create the action that sends the request to the API from your app. To make it automatic, we choose to do it when the Project launches.
Select the Project and click on Actions.
Select Project Launch > Interact with a component > HTTP component > Start request.
Display The Forecast In A Collection
In our example, we display the weather forecast in a horizontal list, as tiles showing the date, an icon, and the average temperatures.
This list was created visually with a Collection / List component.
Connect To The Daily Forecast API
To access weather forecasts, OpenWeather offers another dedicated API: Daily Forecast 16 Days.
This API is not included in OpenWeather’s free plan: see OpenWeather’s pricing. With a free account, the 5 day / 3 hour Forecast API provides a forecast every three hours, with a differently structured response.
Go to the documentation to get the API URL:
https://api.openweathermap.org/data/2.5/forecast/daily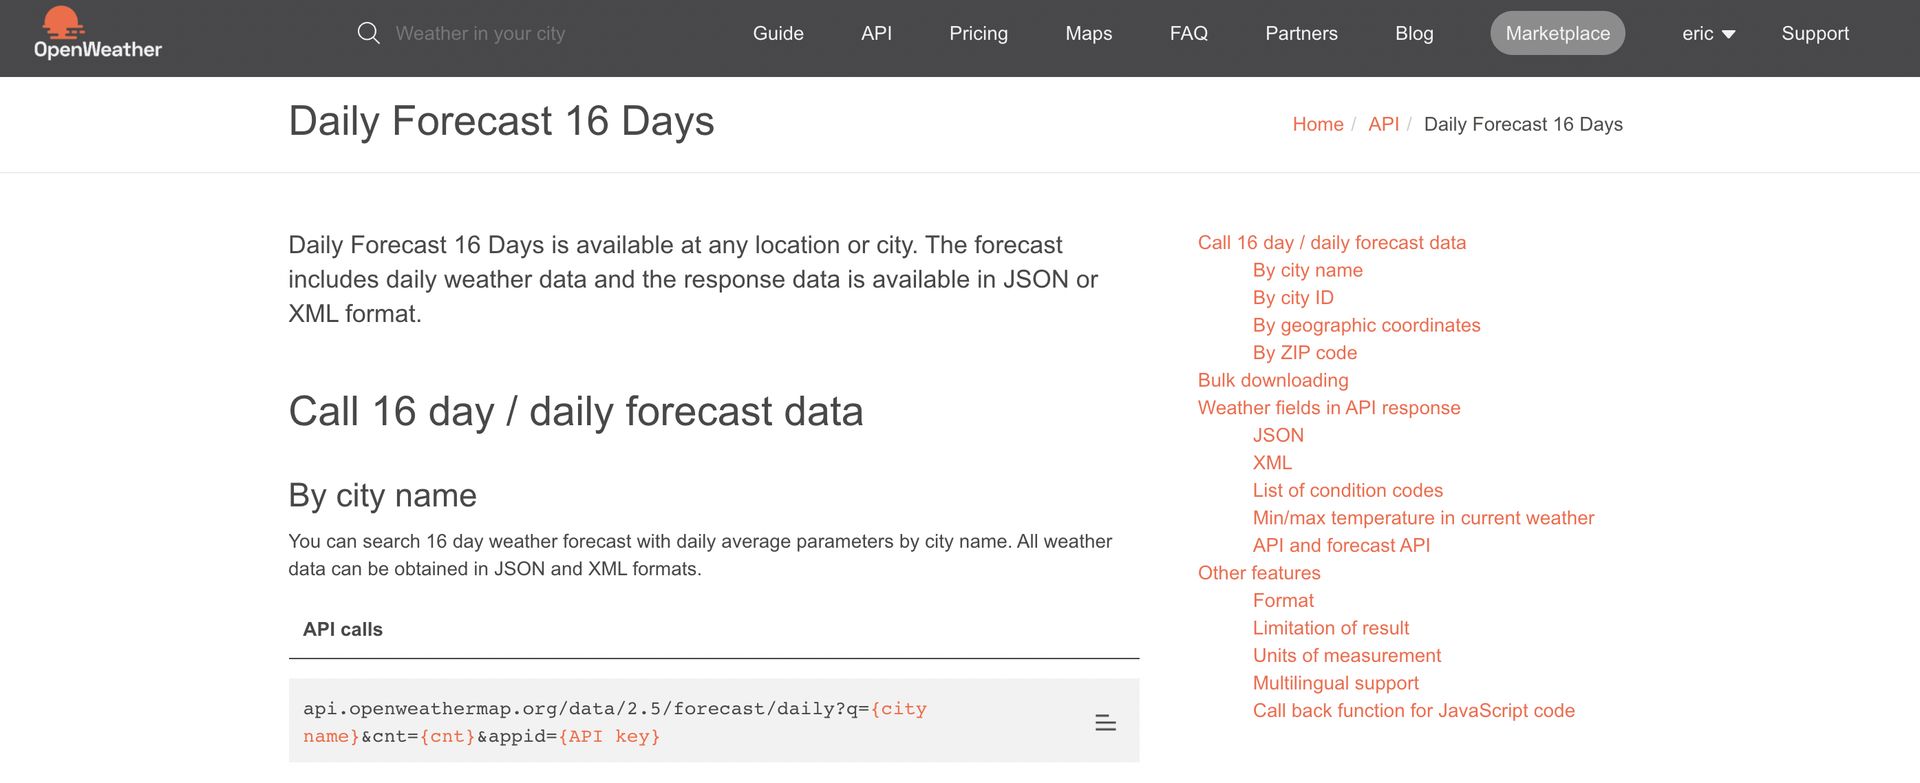
Insert a new HTTP component and fill in the following fields in the Properties window:
-
URL: The Daily Forecast API URL above.
-
Method: Choose the GET method to request data from this API.
-
Query string: Enter the same parameters as for the other API:
- q: The city (e.g., Paris,fr)
- appid: Your personal API key
- units: The unit of measurement (e.g., metric)
- lang: The language (e.g., en)
Click the Edit button on the HTTP component (or double-click the visible HTTP component field). Click the Test Request button.
View your request results: If the raw data corresponds to your expectation, the API has been correctly configured.
To load the forecast when the app launches too, add a second action to the Project Launch trigger: Interact with a component > this HTTP component > Start request.
Display The Forecast As A Collection
Select your Collection / List component and choose the HTTP component as its data source.
Prepare a list item. For each piece of data, add a data binding to the API.