Quiz
Engage your audience with interactive quizzes: single or multiple-choice questions, real-time scoring, visual feedback, and personalized paths based on results. PandaSuite gives you all the building blocks to create any format.
This tutorial uses standard building blocks: variables, data binding, pop-ups, states, and optionally conditions.
To create a questionnaire with result profiles instead of a score, see the Personality quiz tutorial.
Step 1: Create a score variable
- Add a PandaSuite database at the Project level.
- Click Add property.
- Name it
score, choose Number, and set the default value to0.
For a score linked to a user account (leaderboard, cross-device progress), use Firebase instead of a local variable.
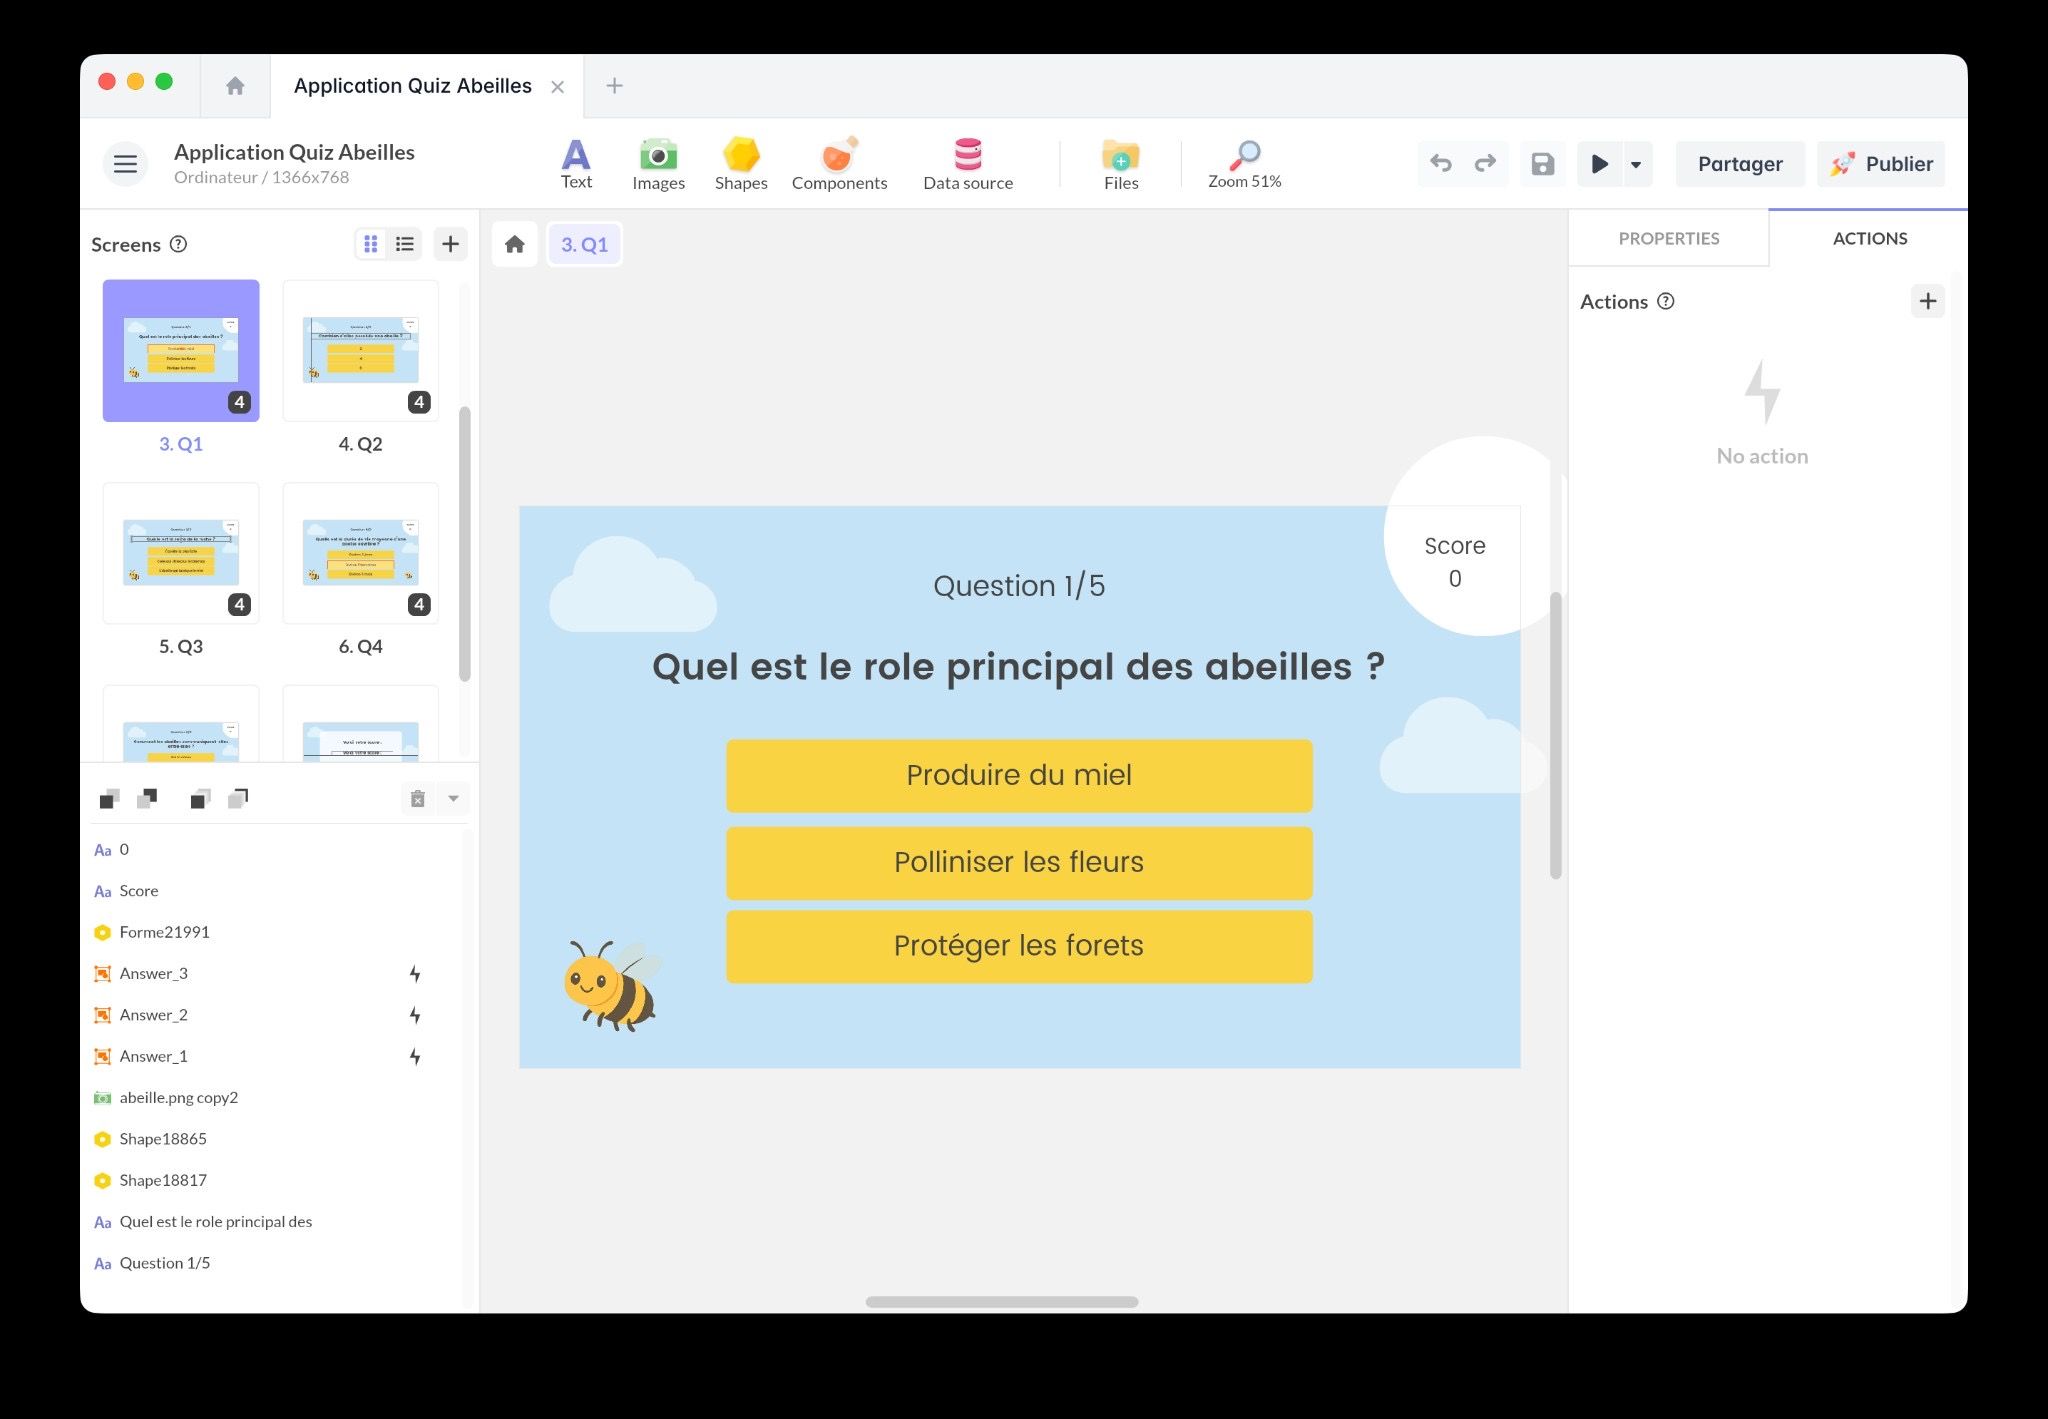
Step 2: Build your question screen(s)
On a screen, design a question card with your own style:
- A Text block for the question
- One interactive element per answer (button design, shape, or image)
Each answer must be tappable/clickable. A simple pattern is to design the button look (shape or image), then place an Interactive Zone on top to handle the tap/click area and actions.
For a multi-question quiz, the clearest structure is usually one screen per question:
- Create your first question screen.
- Duplicate it for each additional question, then update the question and answers.
- Add navigation actions to go to the next screen.
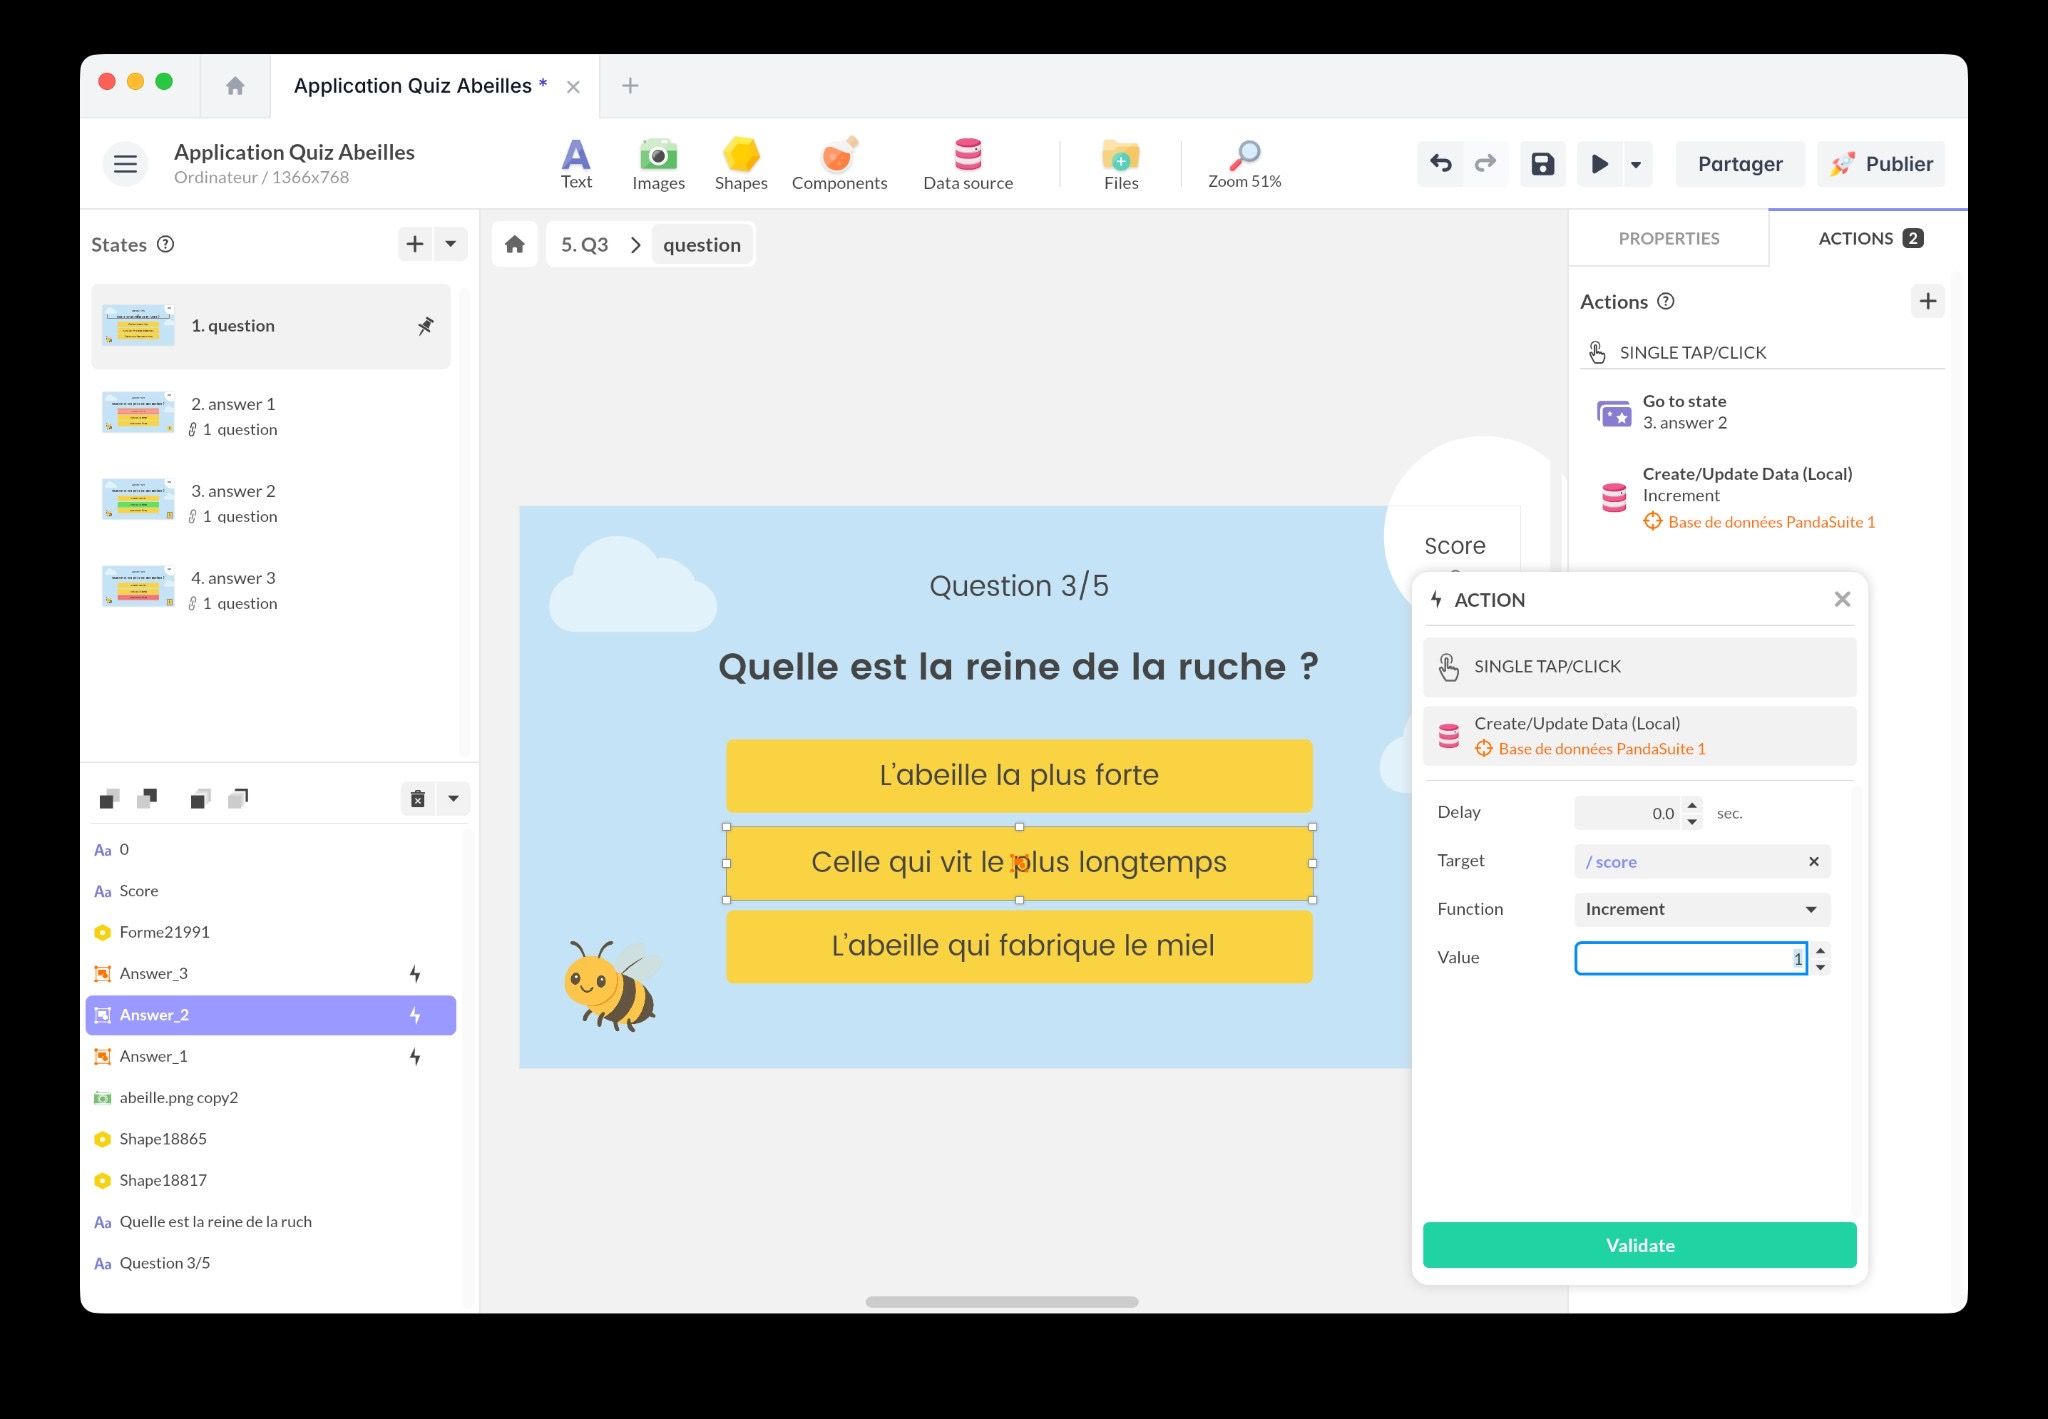
Step 3: Increment the score on the correct answer
For each answer, configure actions on Tap / Click.
Correct answer button (recommended pattern)
- Select the correct answer button.
- Open Actions and choose the Tap / Click trigger.
- Add an action to increment
score:- Act on a data source → select your PandaSuite database
- Modify data → choose
score - Function: Increment → Value:
1
Then add your feedback and navigation (choose one):
- User feedback (Correct / Incorrect): open a pop-up (see Step 5) or change a state (see Step 6).
- Next question: Go to screen → select the next question screen
While building your quiz, it is often helpful to display the score variable
in the interface (see Step 4). This makes it easy to confirm that your
increment logic is working correctly. You can remove or hide it before
publishing.
For more (including reset), see: Score.
Incorrect answer buttons
For wrong answers, you typically:
- Do not increment
score - Show “Incorrect” feedback (pop-up or state)
- Optionally allow a retry, or move on to the next question
Step 4: Display the score while testing (optional)
If you want to check your logic while you configure the quiz, you can display the live score in the UI:
- Insert a Text block (for example: “Score: 0”).
- In the Text properties, create a data binding to the
scorevariable value.
Step 5: Give feedback with pop-ups (correct / incorrect)
Feedback is the immediate response shown after the user selects an answer (for example: “Correct” / “Incorrect”). Pop-ups are a simple and clear way to do this.
- Insert two Pop-up components: one “Correct”, one “Incorrect”.
- Design each pop-up (short message, icon, and a Close button is a good default).
- On each answer button, add an action:
-
1 Act on a component→2 Pop-up→3 Open pop-up
- Select the “Correct” or “Incorrect” pop-up
-
Tip: On the pop-up Close button, you can also add a navigation action (next question, next screen, etc.).
Step 6: Go further with states (selection, validation, explanations)
States help you create richer quiz experiences (highlighting the selected answer, revealing the correct one, showing an explanation) without multiplying screens or pop-ups.
Depending on your layout, you can use:
- Screen states (recommended when you build one screen per question). See Screens and Understand states.
- A Multi-state component (useful when only part of the UI needs to change, such as the answer group, or when you keep multiple questions on one screen).
Step 7: Add conditional actions (end screen, branching outcomes)
When you want the quiz to branch based on the score (or any other rule), use a Condition component.
Examples:
- Show a “Beginner / Intermediate / Advanced” result screen based on
score - Unlock a bonus question if
scoreis above a threshold
Workflow:
- Insert a Condition component (screen level or Project level).
- Create one condition per outcome (for example: “Score ≥ 3”).
- On the last question validation button, add an action to evaluate the condition.
- In the Condition actions, navigate to the right screen (or open the right pop-up).
Best practices
- Reset the score: if users can replay the quiz, reset
scoreto zero at the start (action→1 Modify data→2 Set0).
For more on score management (display, data binding), see: Score.
See also
Interactive Bee Quiz
Add this template to your account in just a few clicks. Edit and customize it freely.
→ Add this template to your accountMultiple Choice Quiz (MCQ)
Add this template to your account in just a few clicks. Edit and customize it freely.
→ Add this template to your account